
Slickstream member name and email data can be integrated with a number of third-party services using Zapier. This give you flexibility to integrate with services beyond our proprietary integrations.
Here we'll show you a quick example of how to set up the an integration between Slickstream and another service using Zapier. In this case, we'll use the email service provide Aweber.
Keep in mind, each application you connect to may have different options for integration within Zapier. You may need to contact Zapier support or your 3rd party application's support team for specific integration questions:
Step 1: Create a new "zap" in your Zapier account and set up the source application trigger.
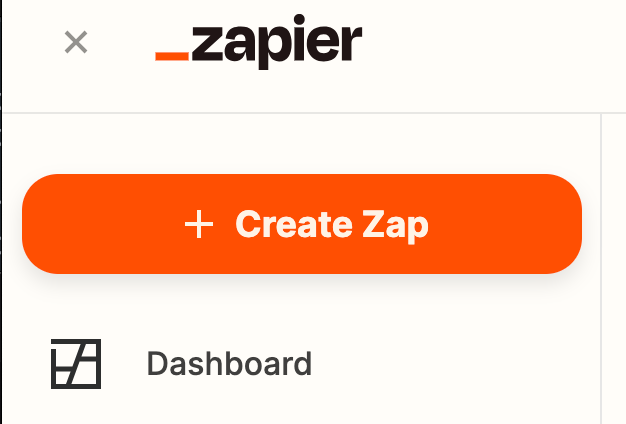
Within your Zapier account, create a new "zap" using the "Create Zap" button.
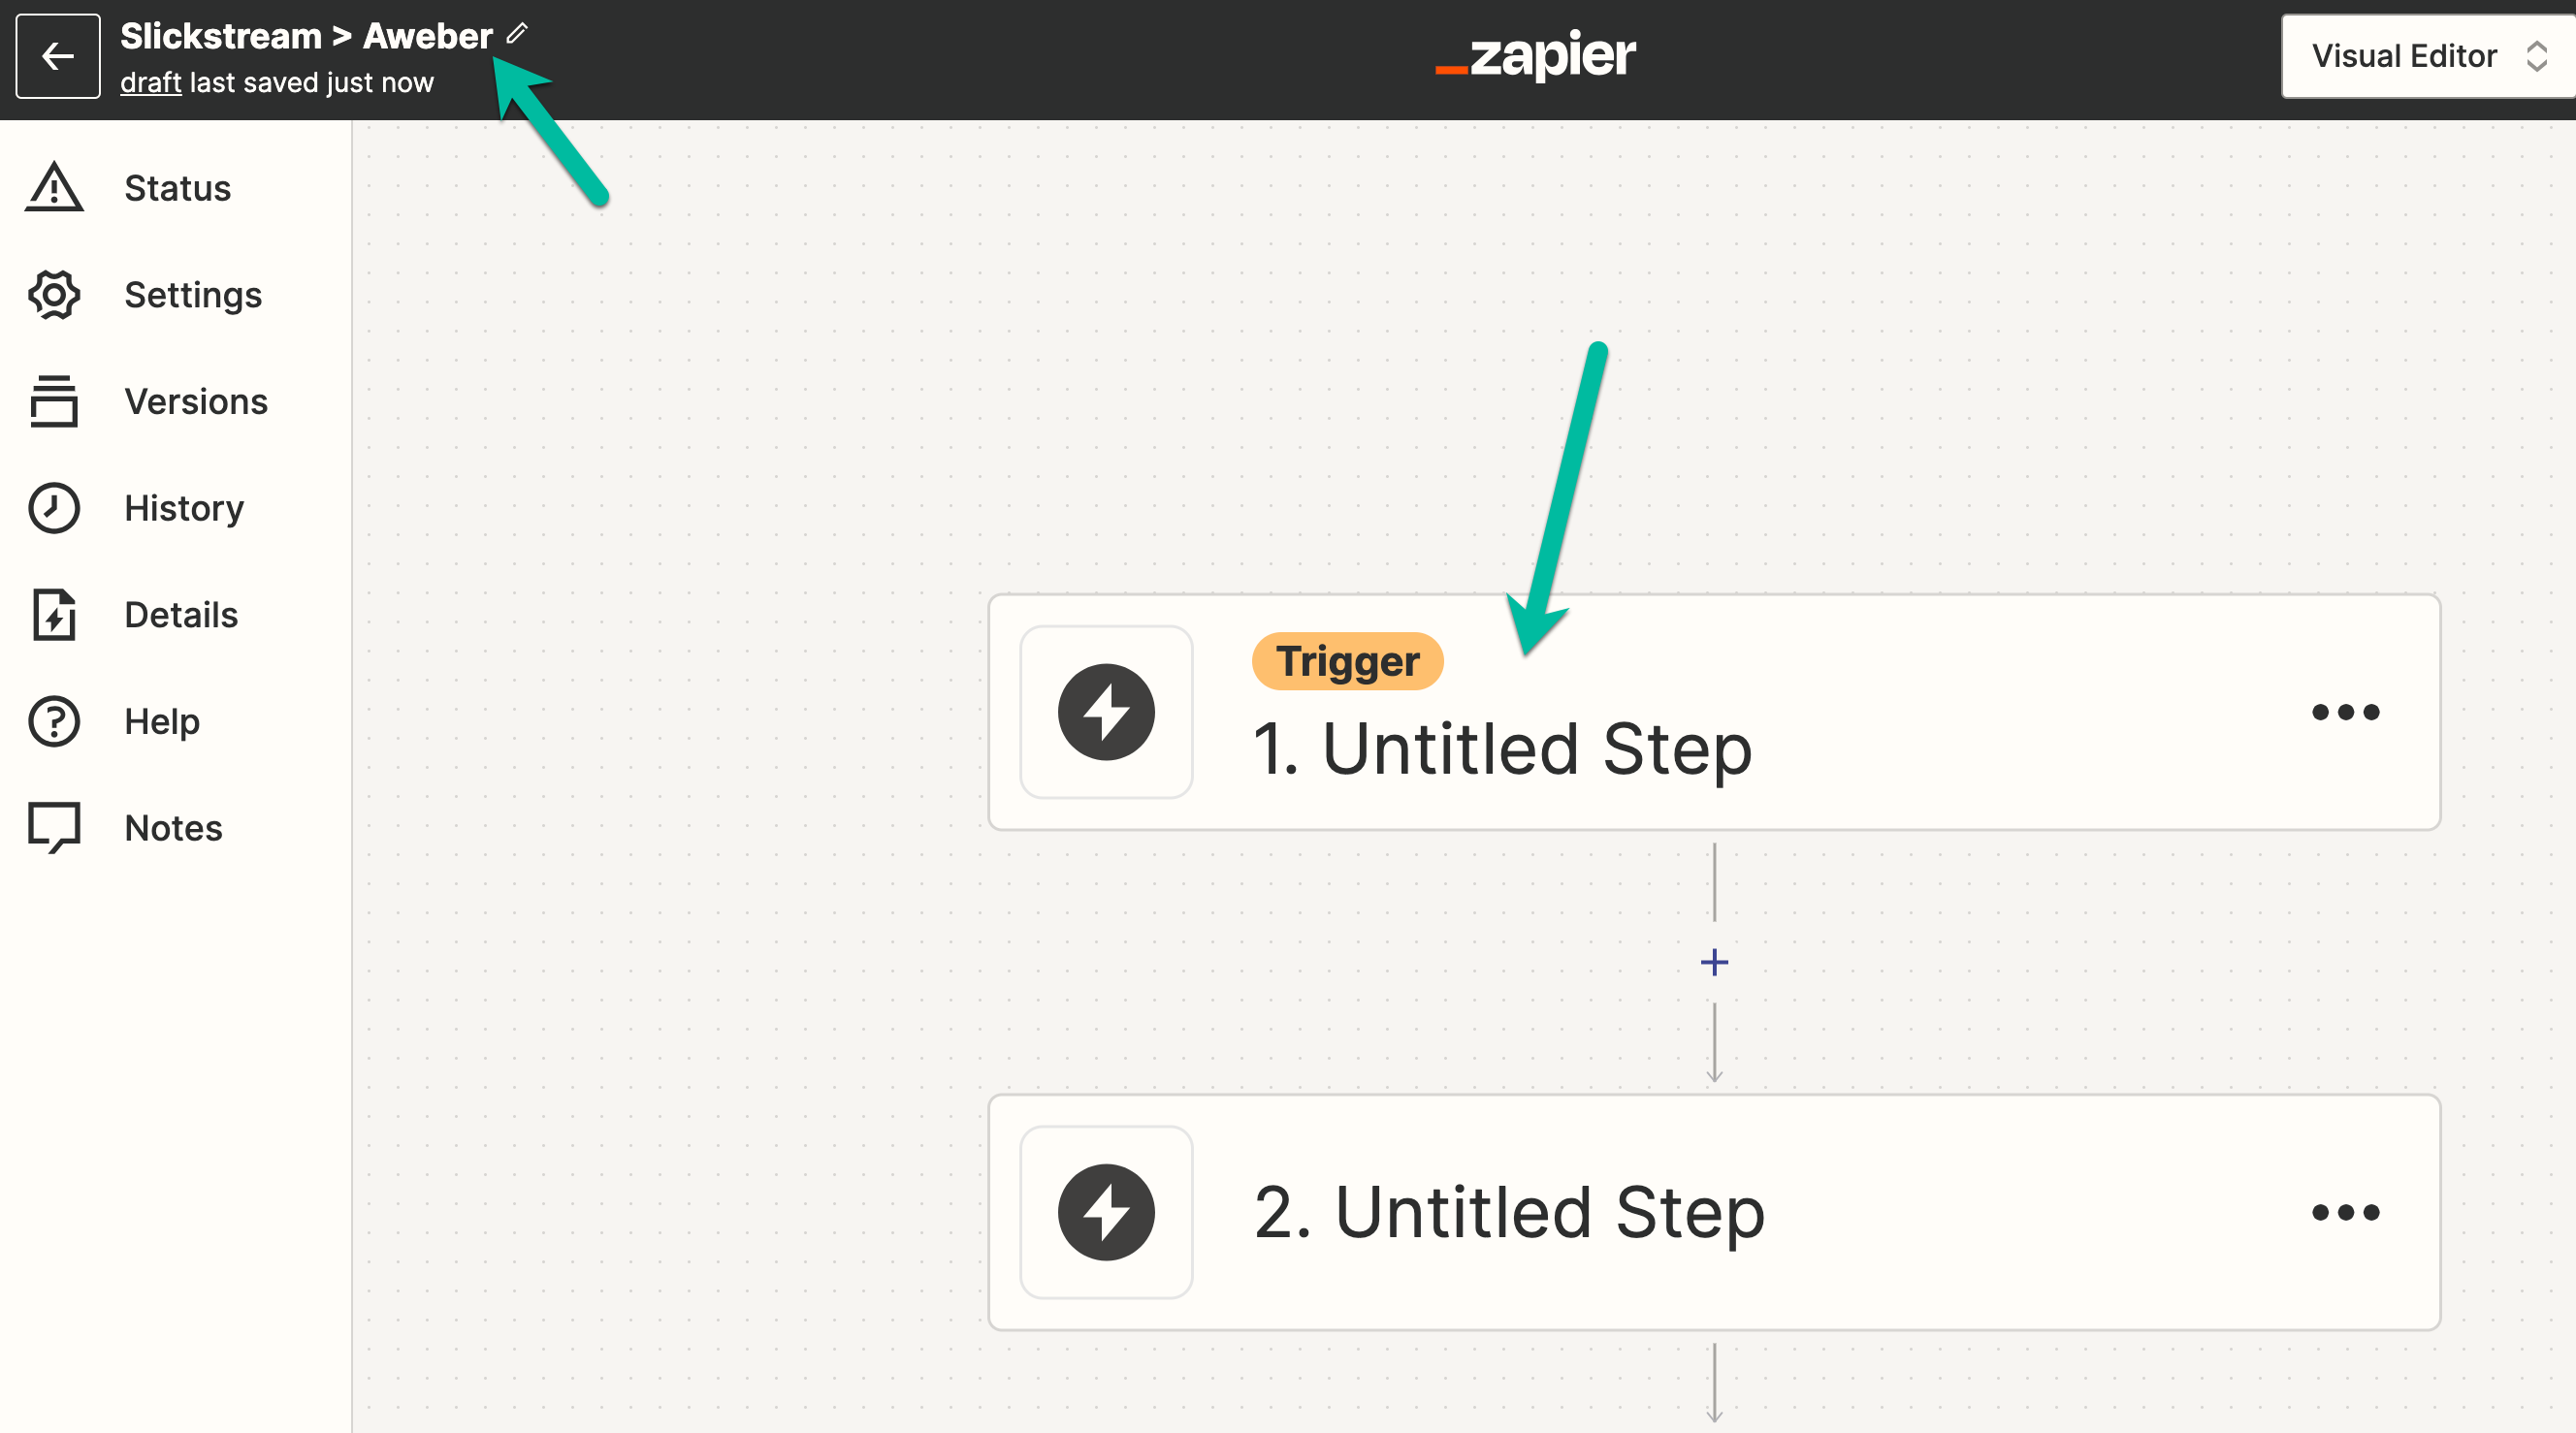
Rename your new zap so you can find it easily later, then click on the first trigger to edit the settings.
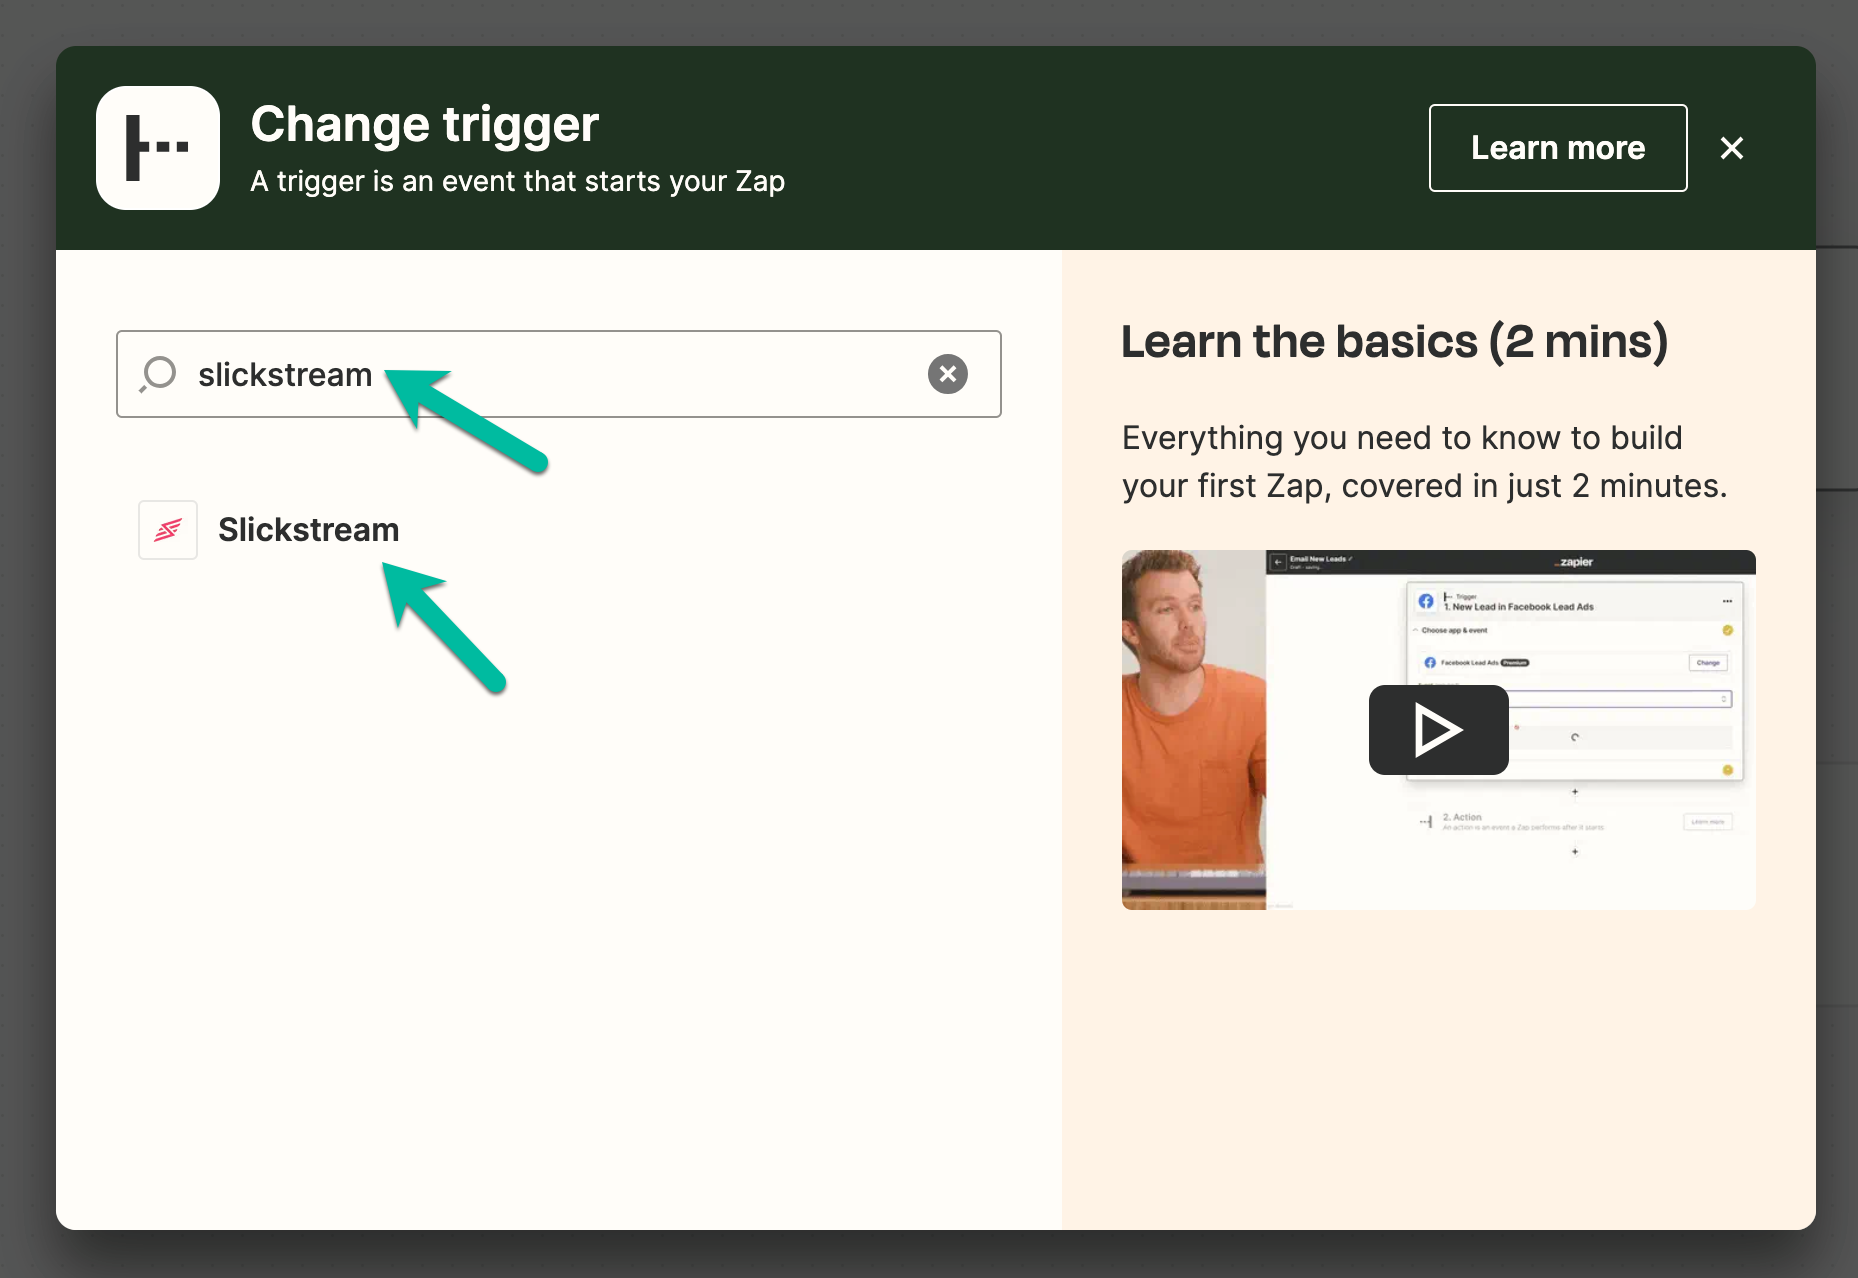
Search for Slickstream, then click the name to continue.
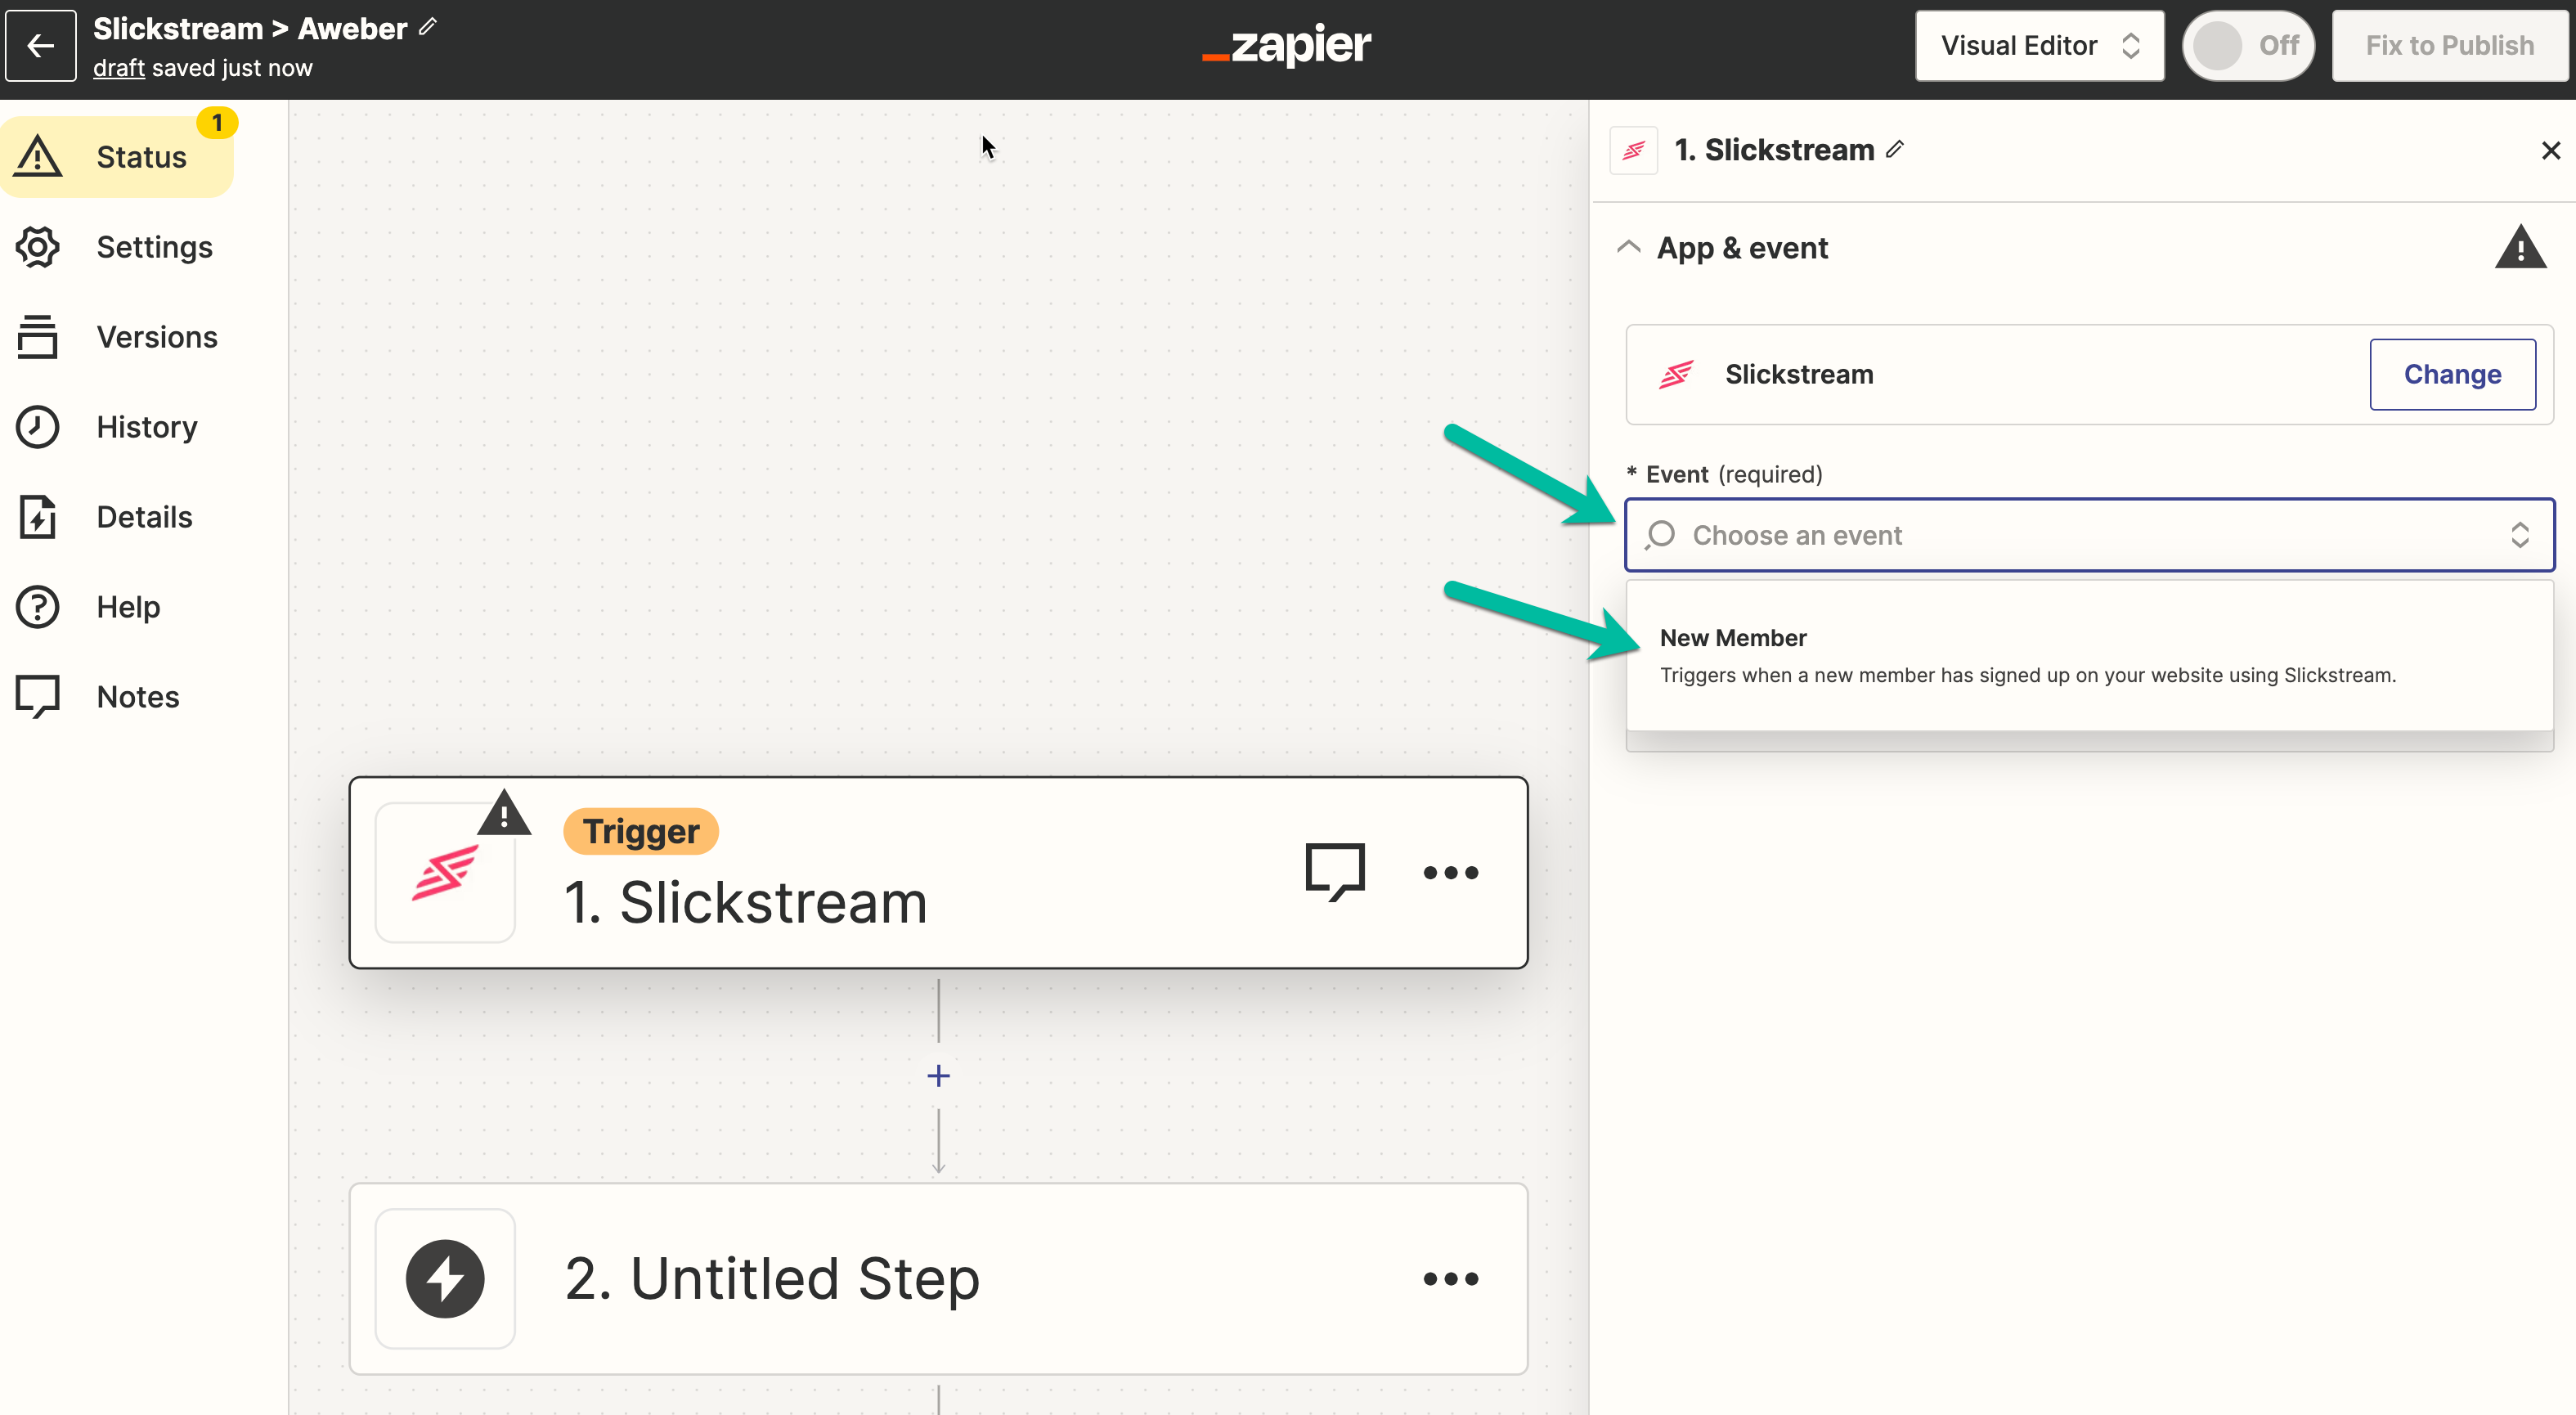
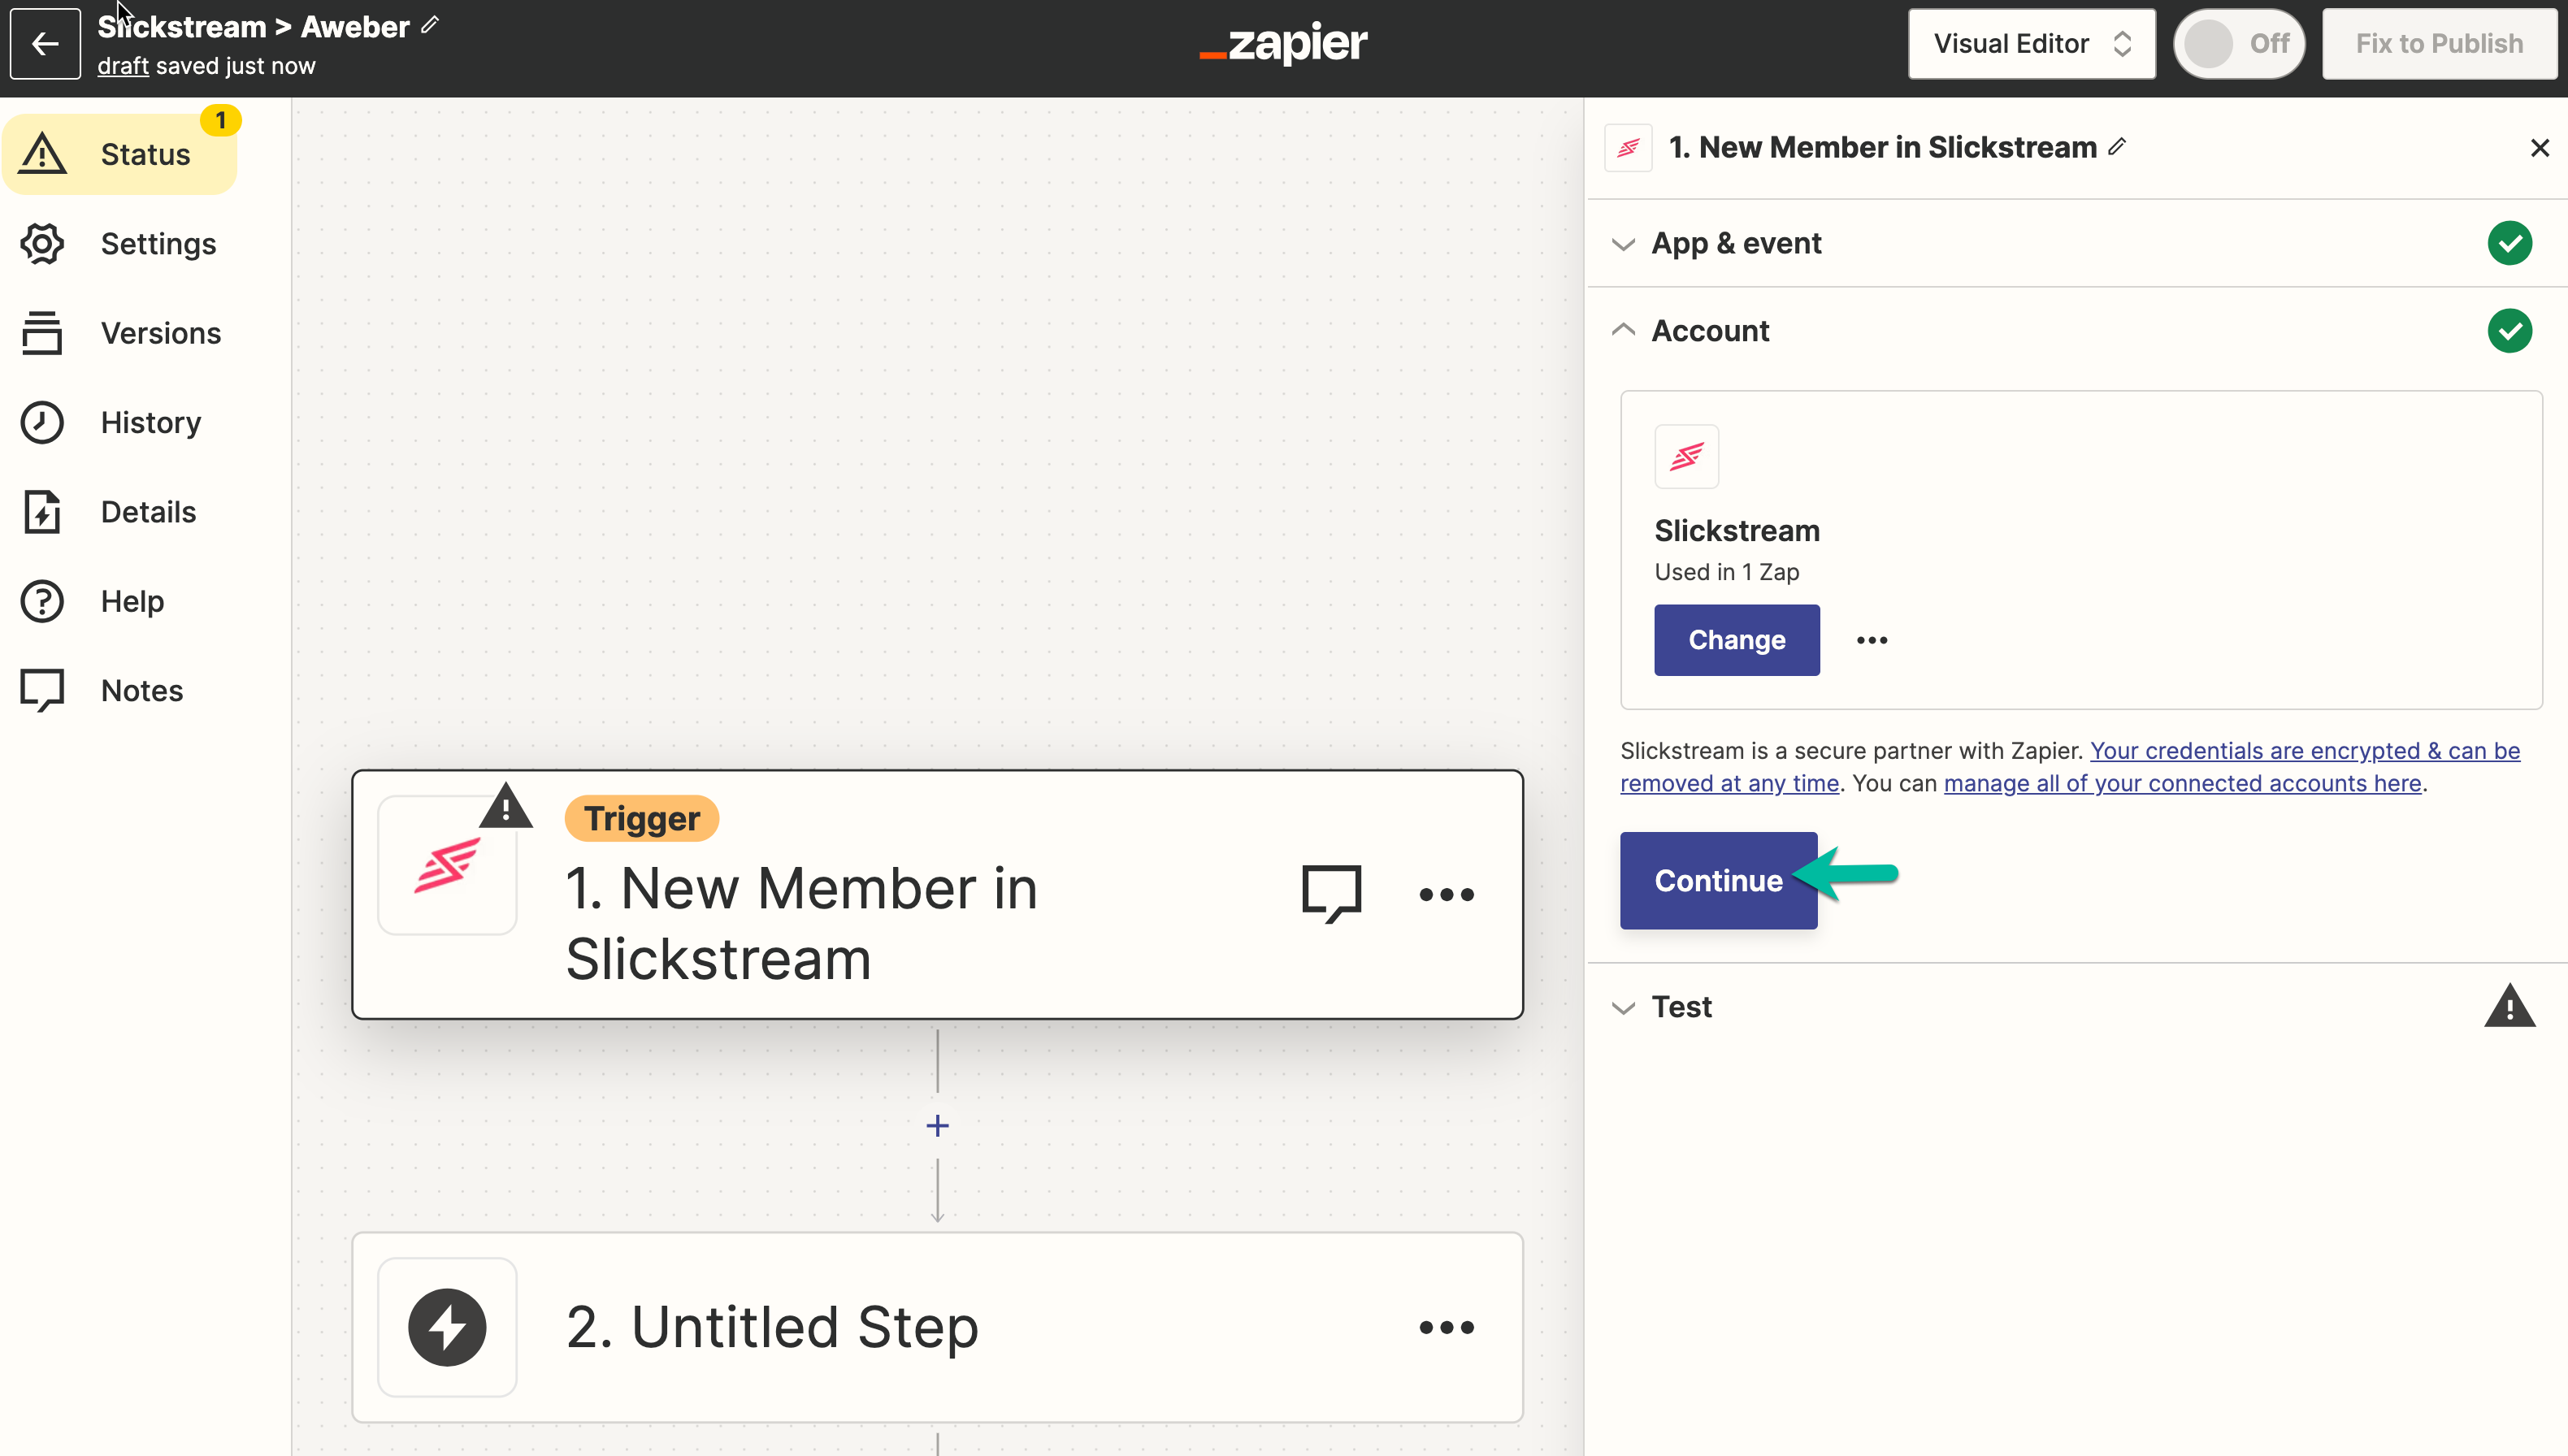
For the Slickstream "Event", choose "New Member".
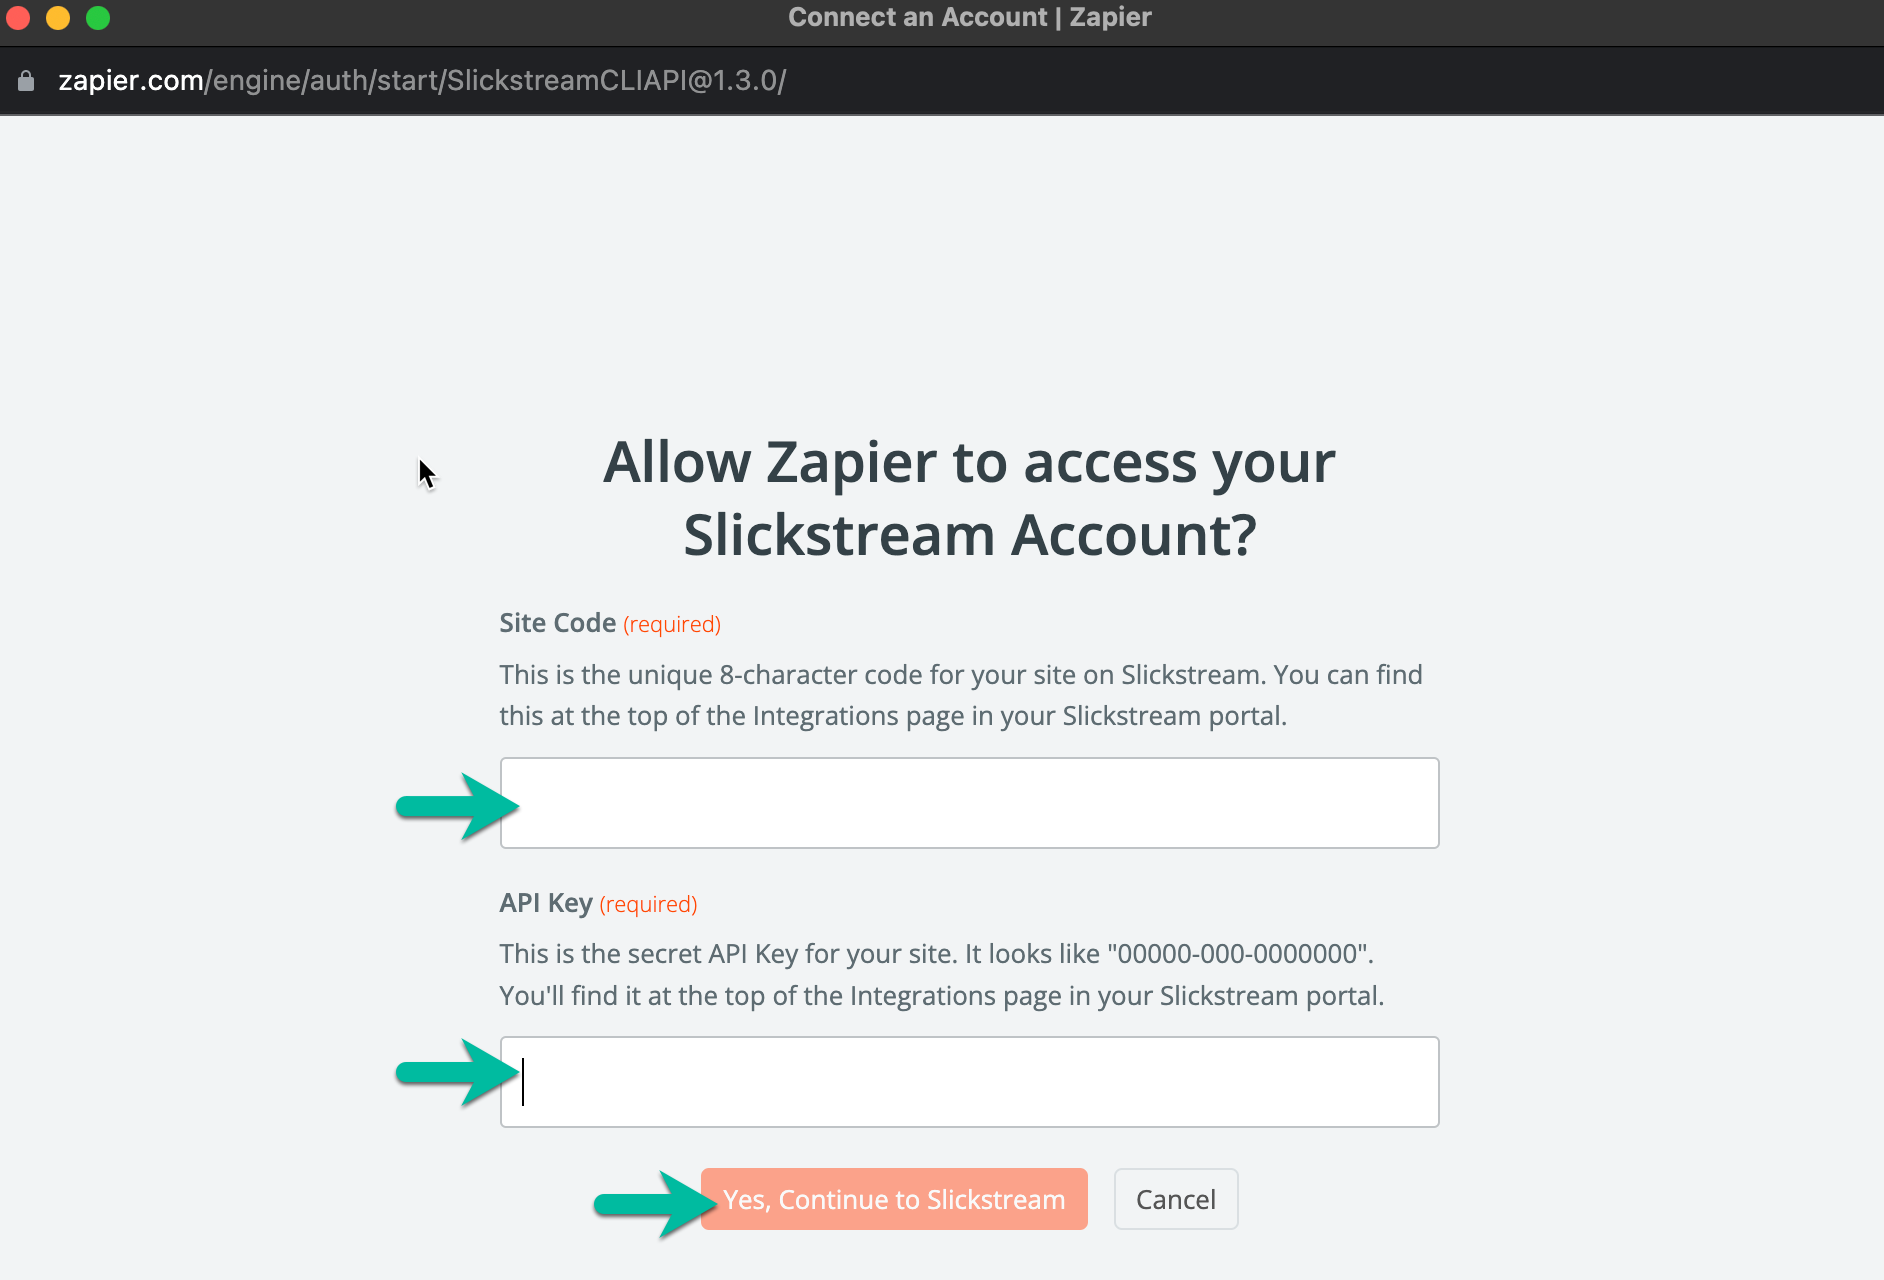
Connect to Slickstream using the "Sign in" button. (You'll just be adding your Site Code and API key, not actually signing in to Slickstream in this step)

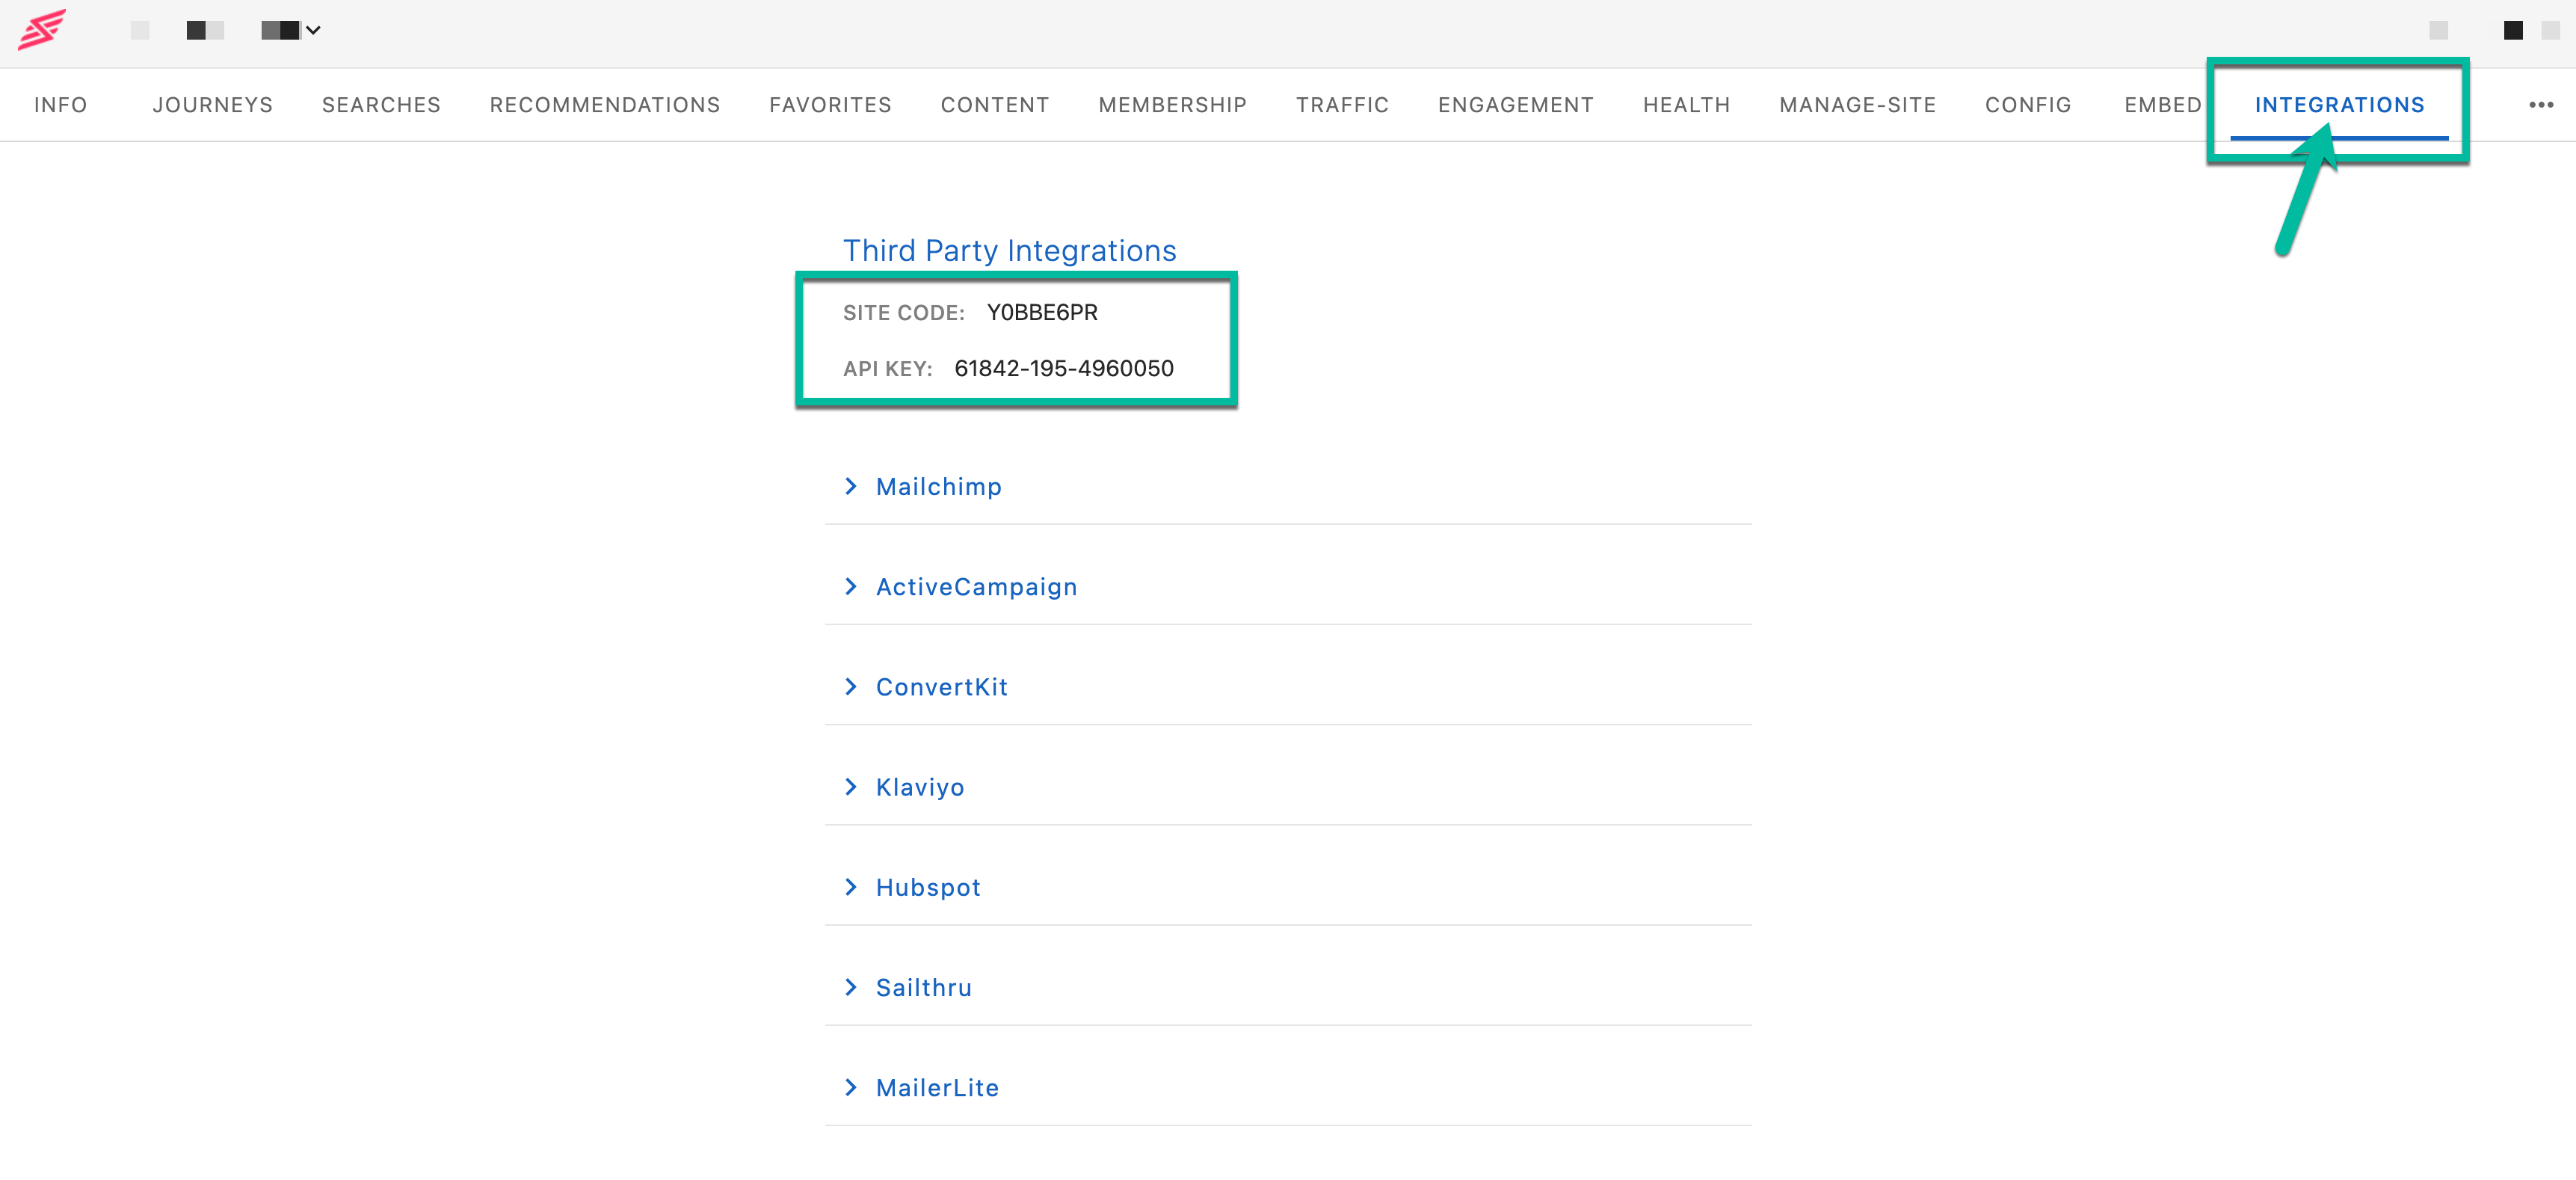
Log in to your Slickstream portal and visit the Integrations tab to get your Site Code and API Key.
Add your Site Code and API Key to Zapier and click the continue button.
Then, click the blue "Continue" button.
Step 2: Set up the trigger for the application that will receive your Slickstream member data
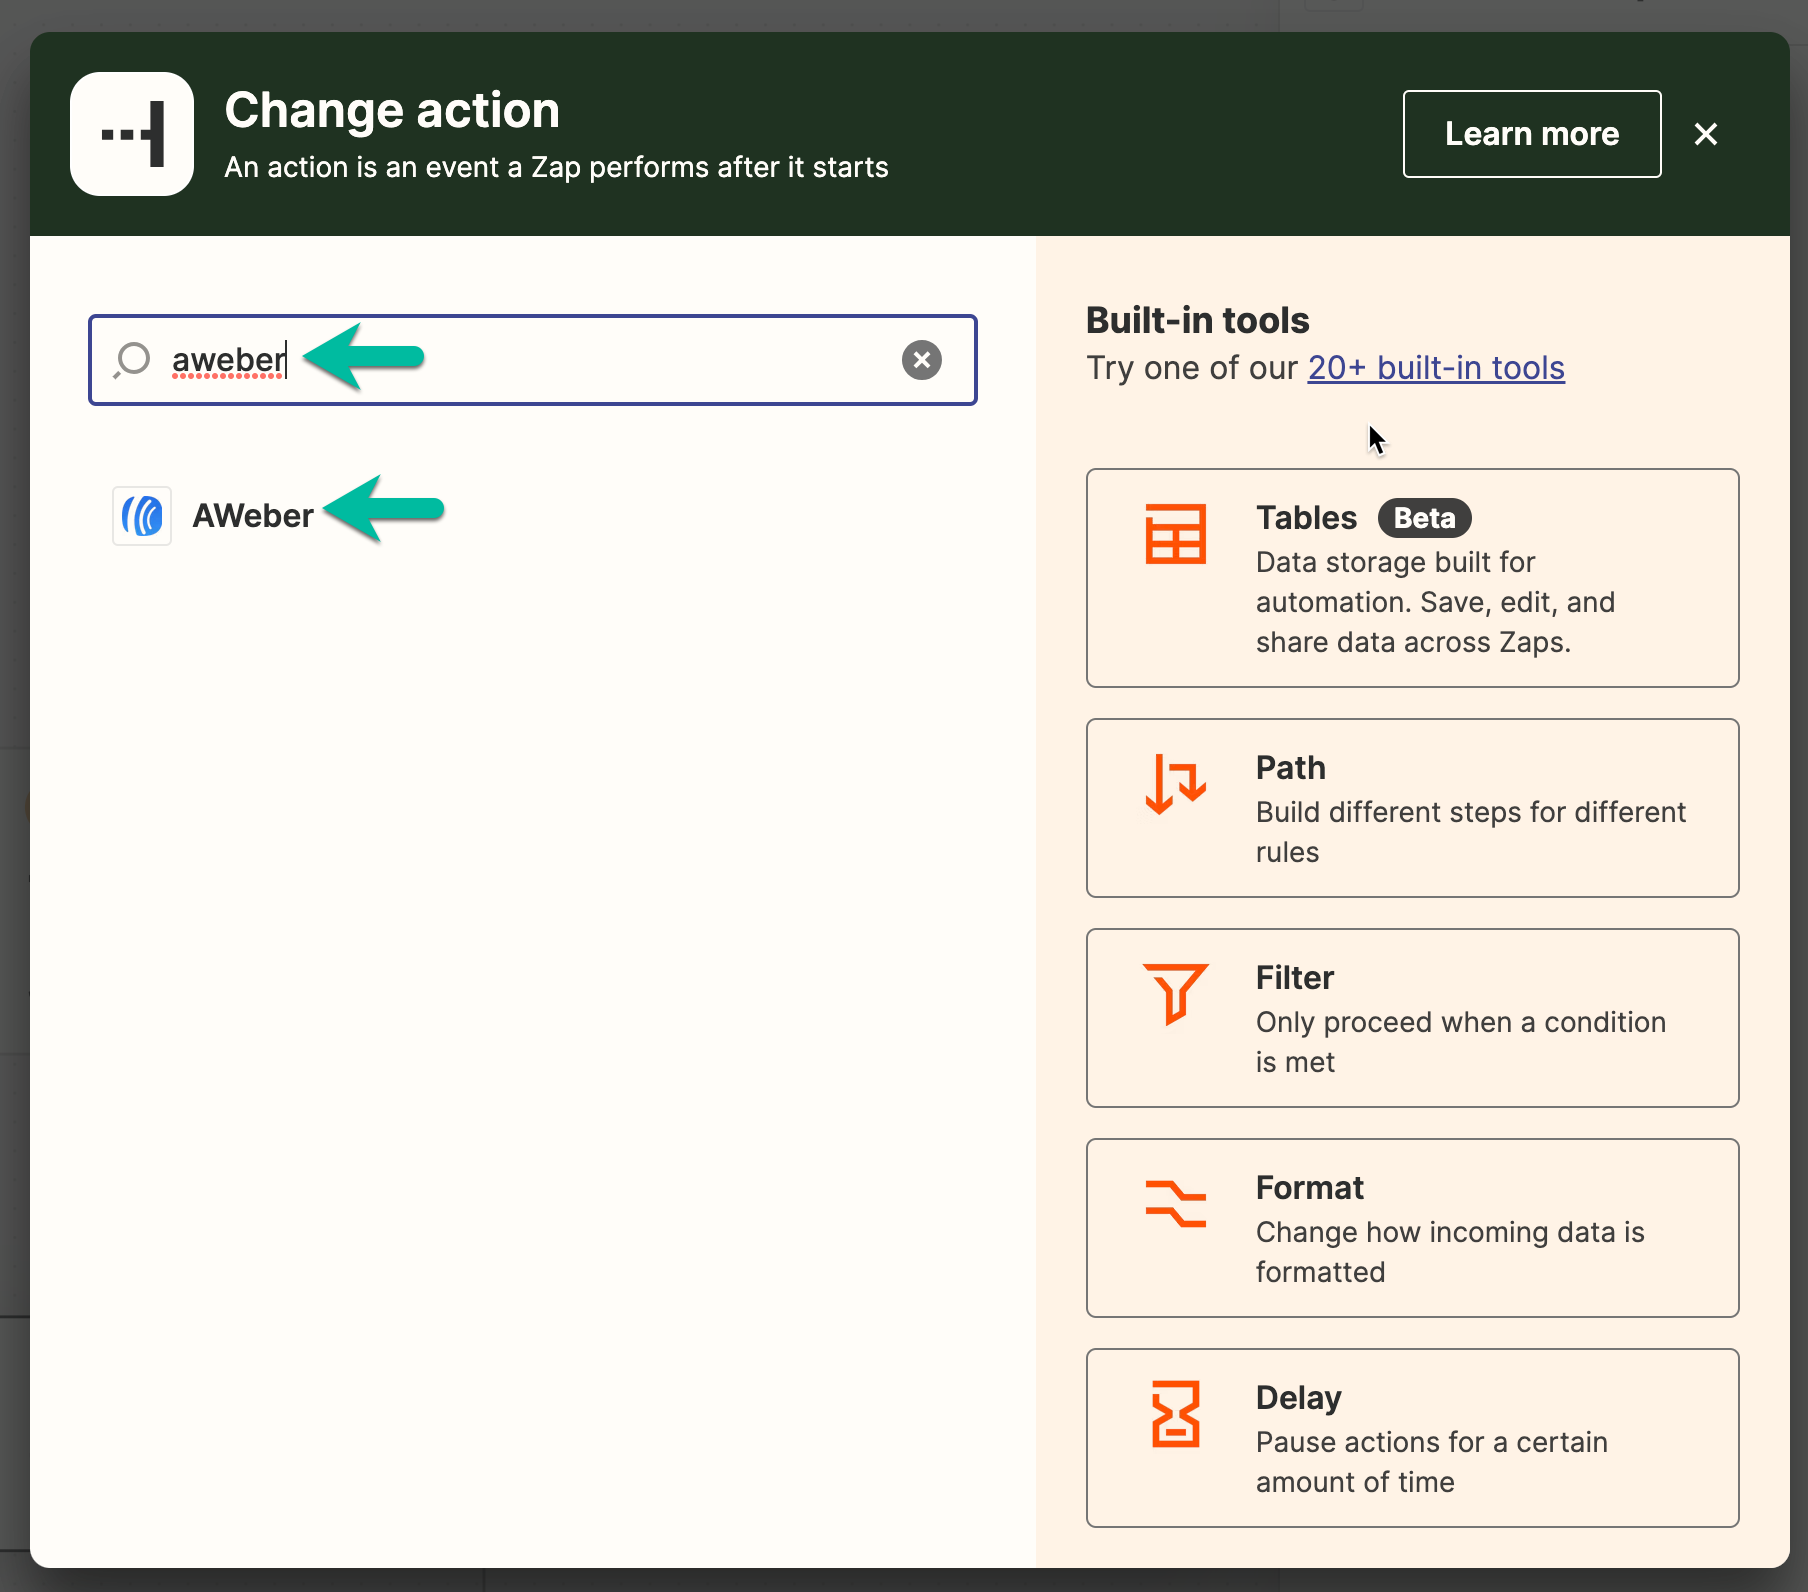
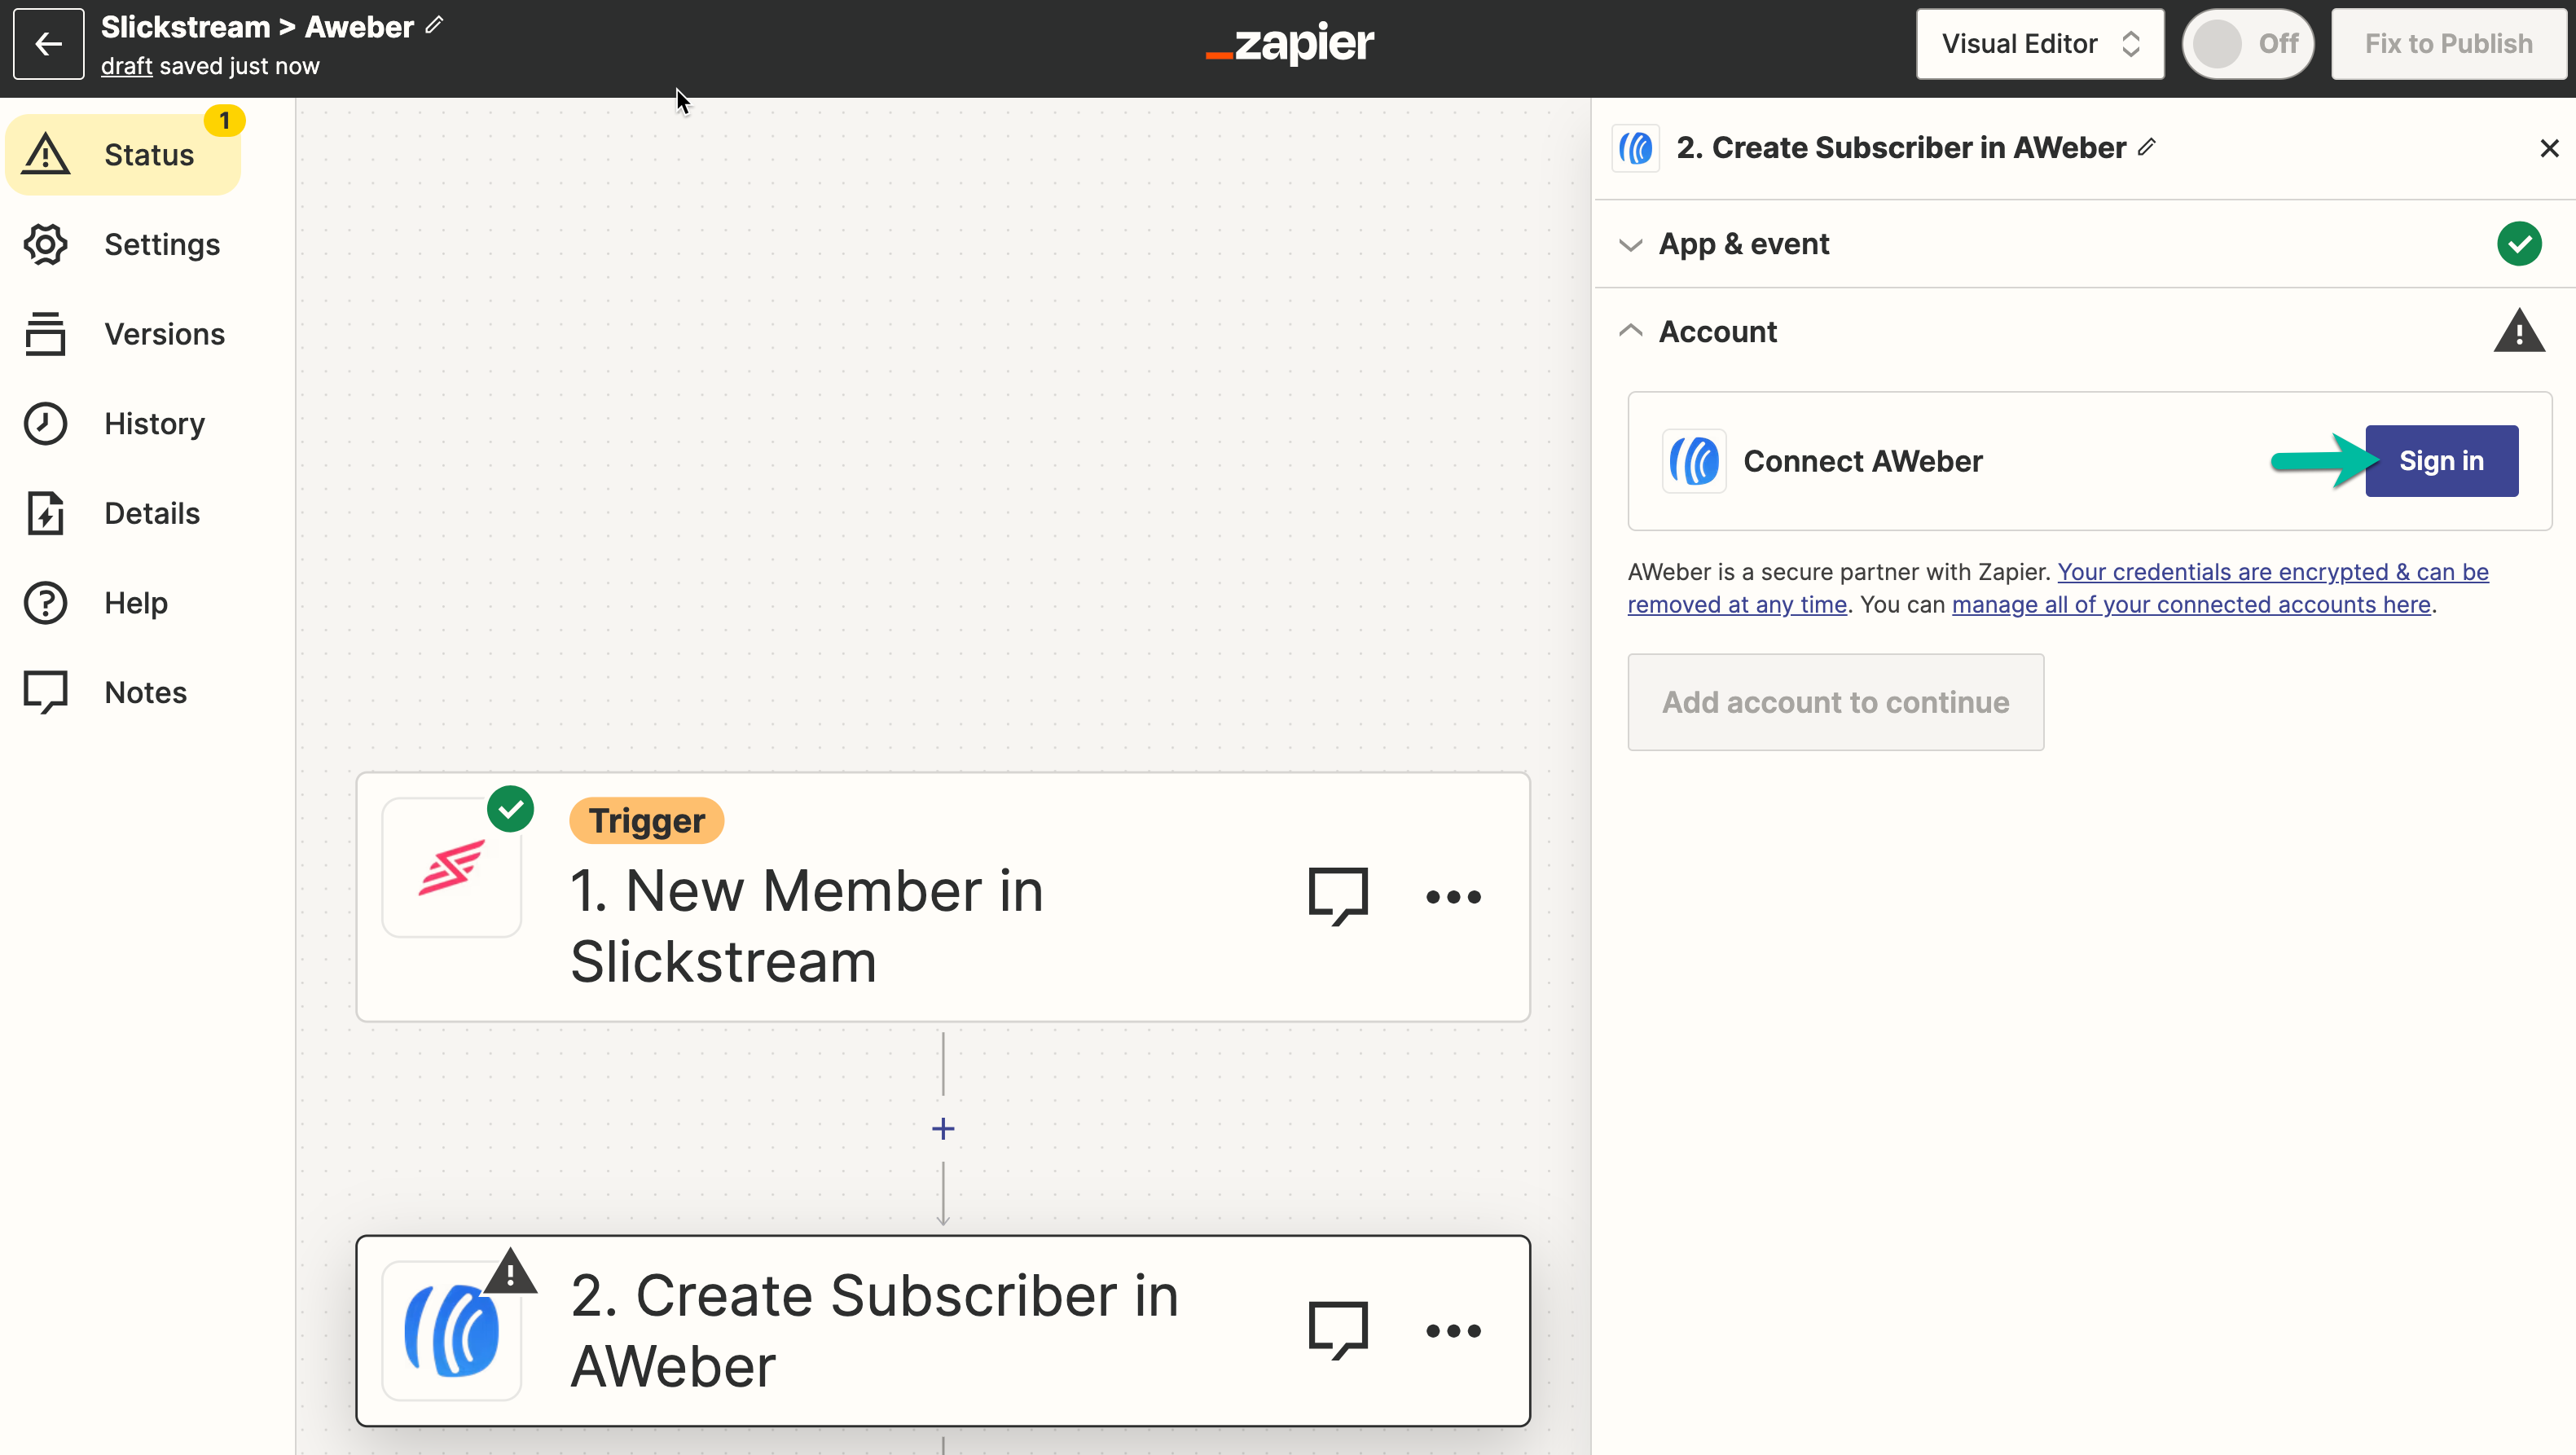
In the target application's trigger settings, search for your application. In this case, we're using the Aweber email service provider. Your options may be different from this point forward so the settings you see in Zapier may be slightly different.
Once you've chose your application, you'll be prompted to choose what types of actions you want to do with the Slickstream member's data. In this example, we'll create a new subscriber in Aweber for each new opted-in member sign up via Slickstream.

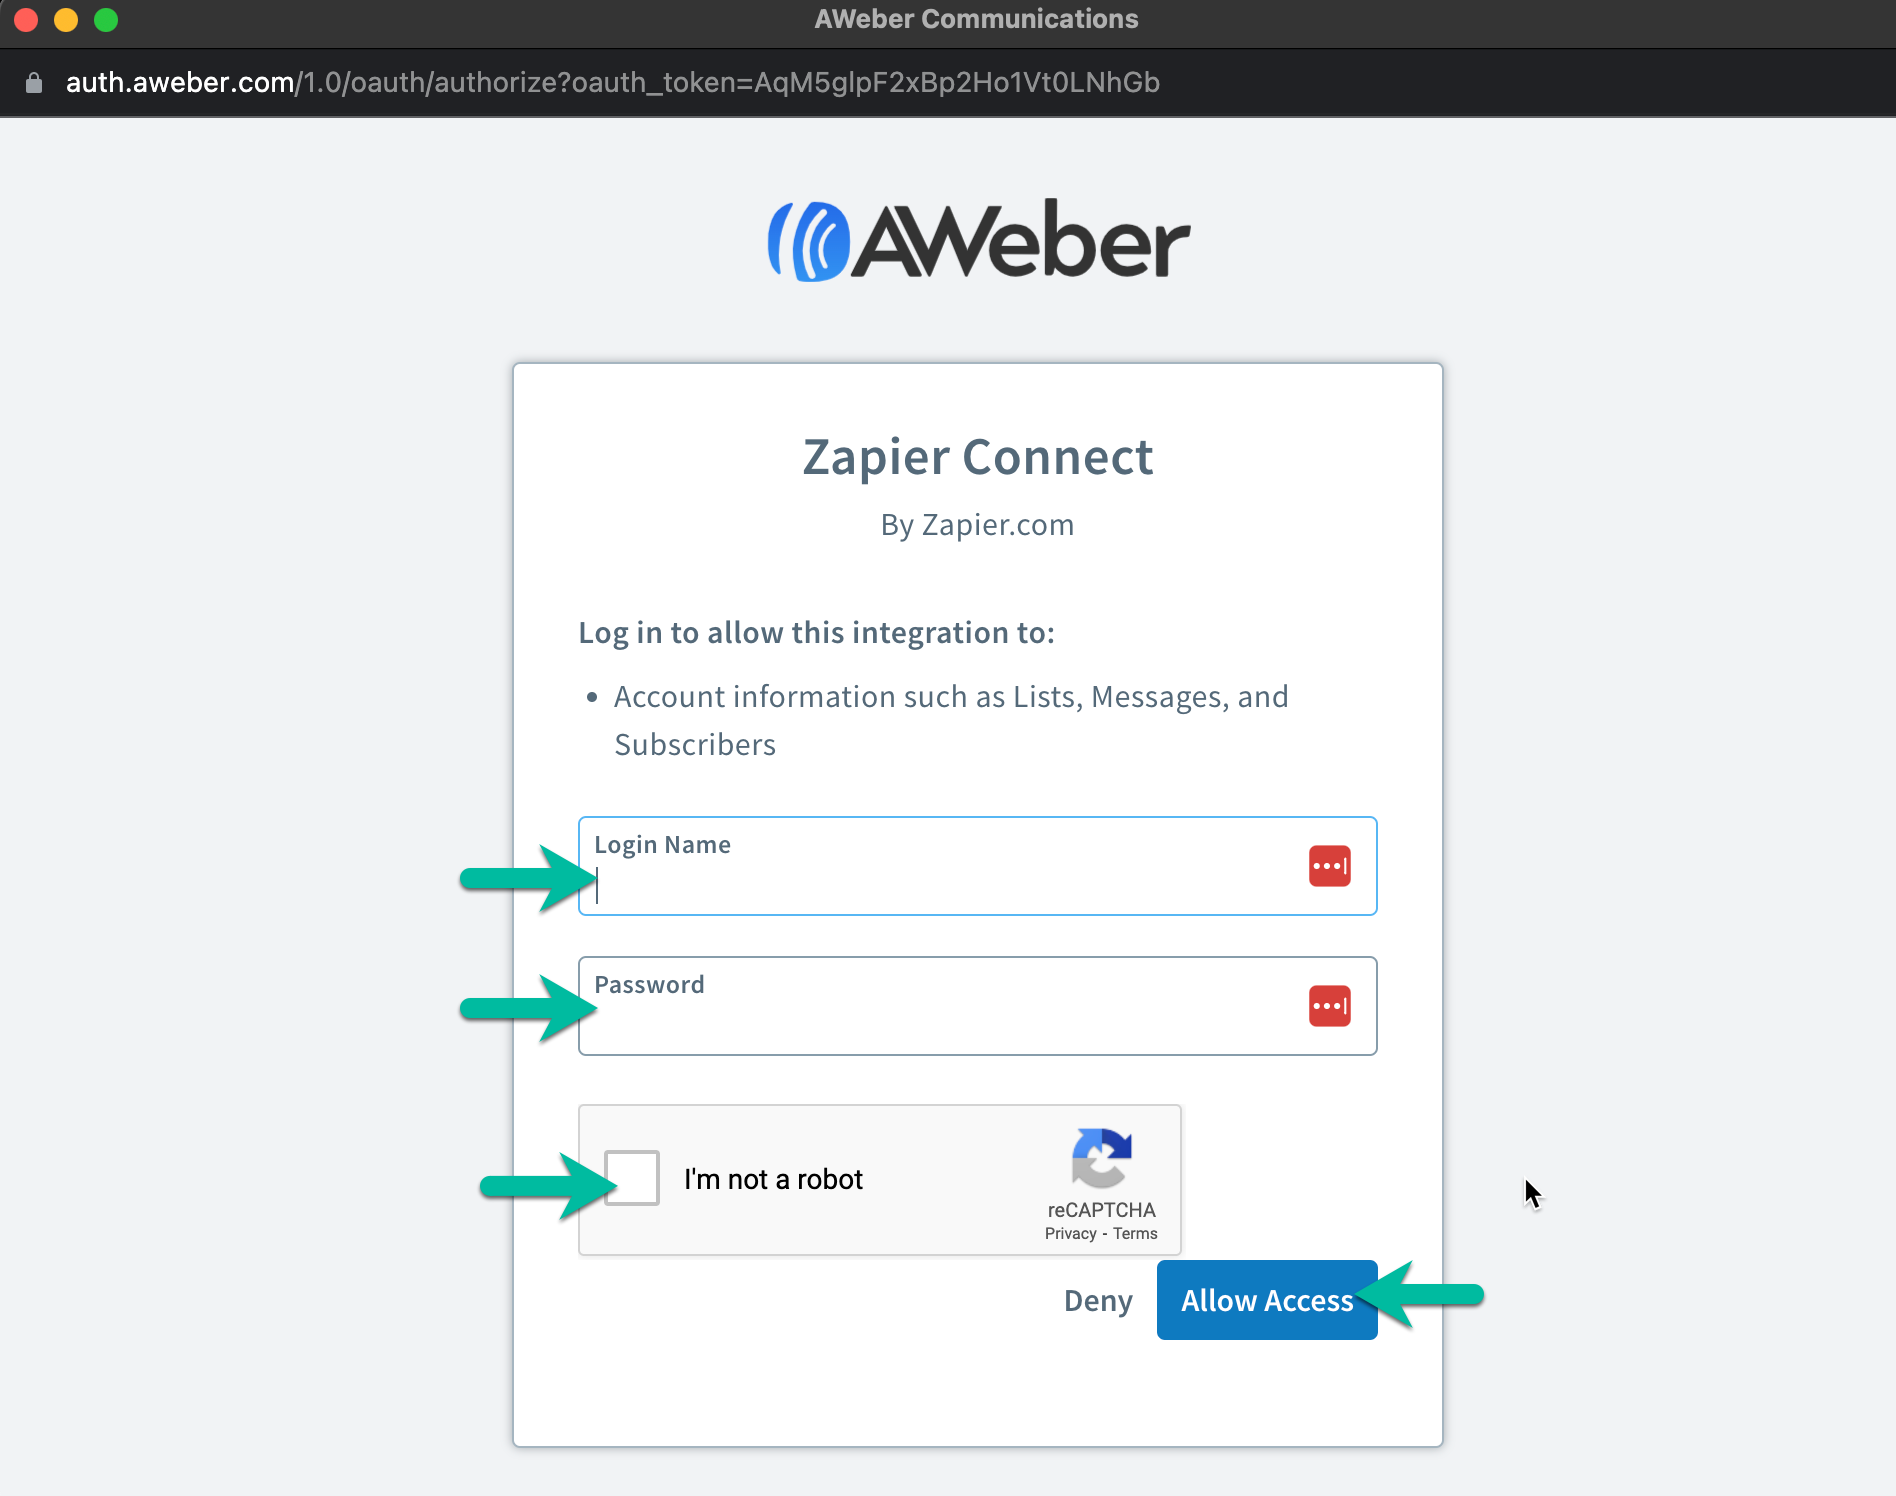
Once you've set up the data connections, you'll be prompted to sign in or add your API info, depending on your 3rd party application's requirements. In this case, we'll sign in to Aweber within Zapier.
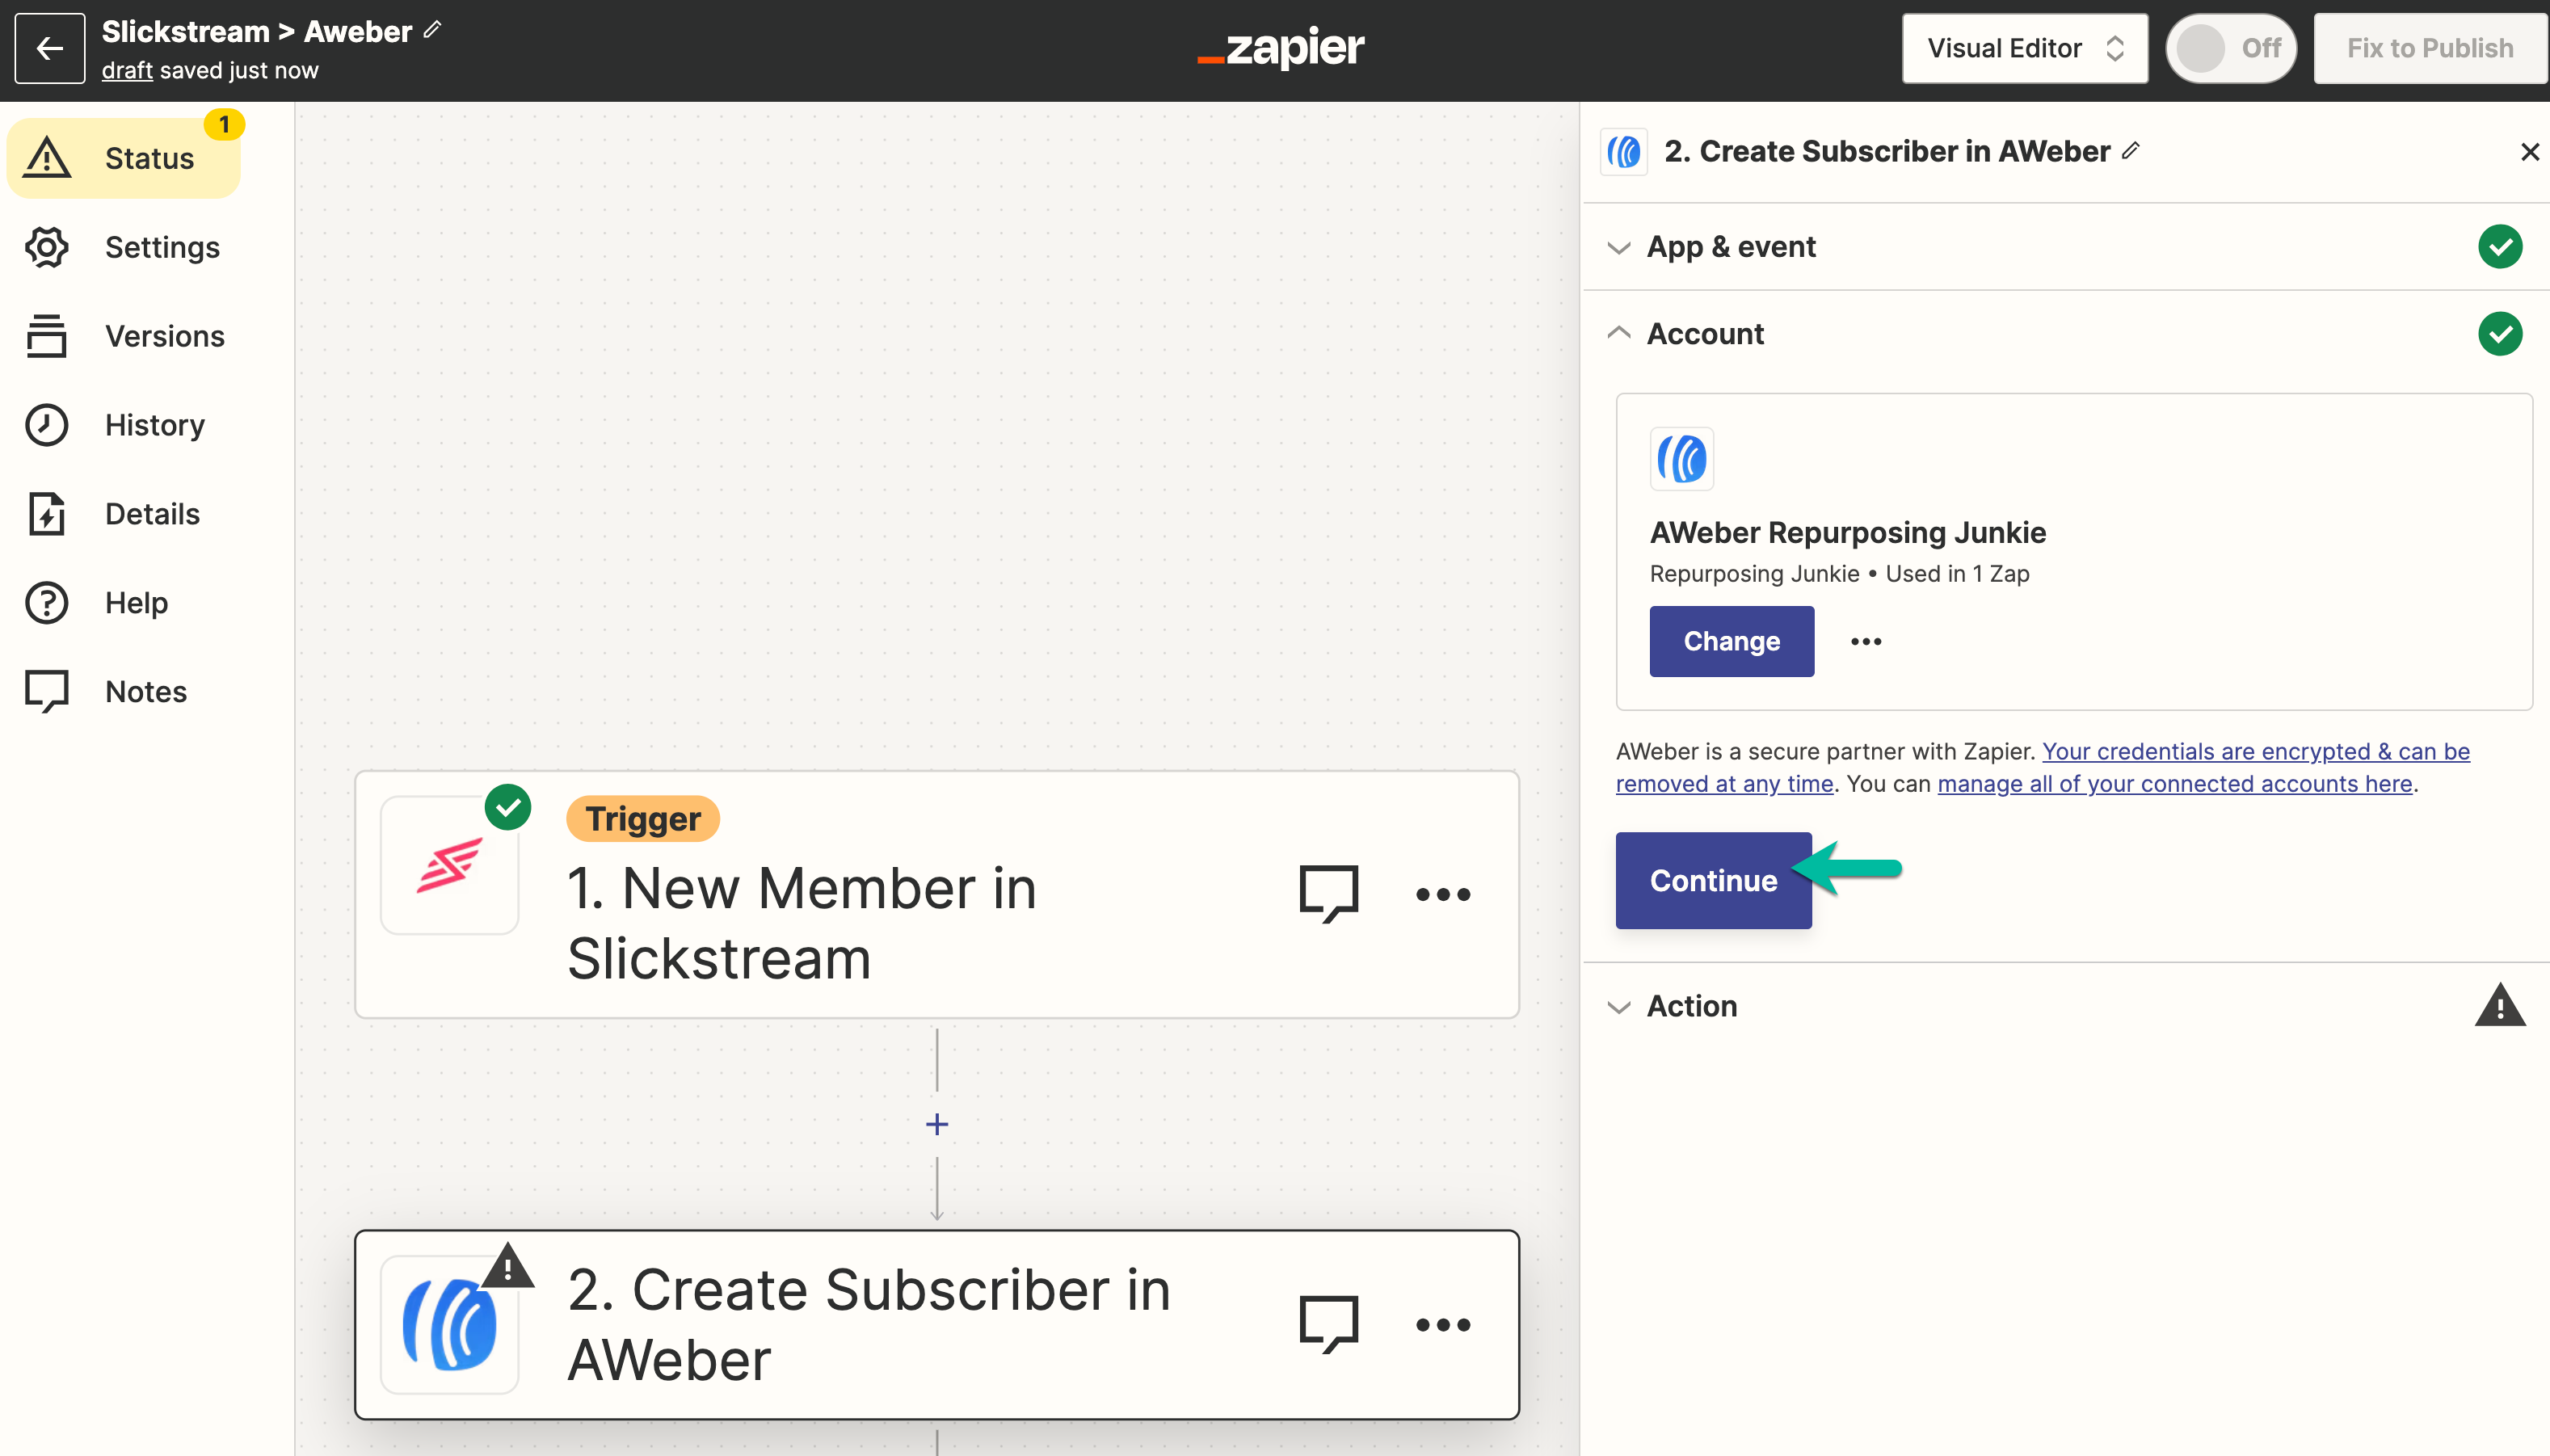
Once you've established the connection to your 3rd party application within Zapier, you'll be prompted to continue and then set up synchronizations between the data received from Slickstream and your 3rd party application.
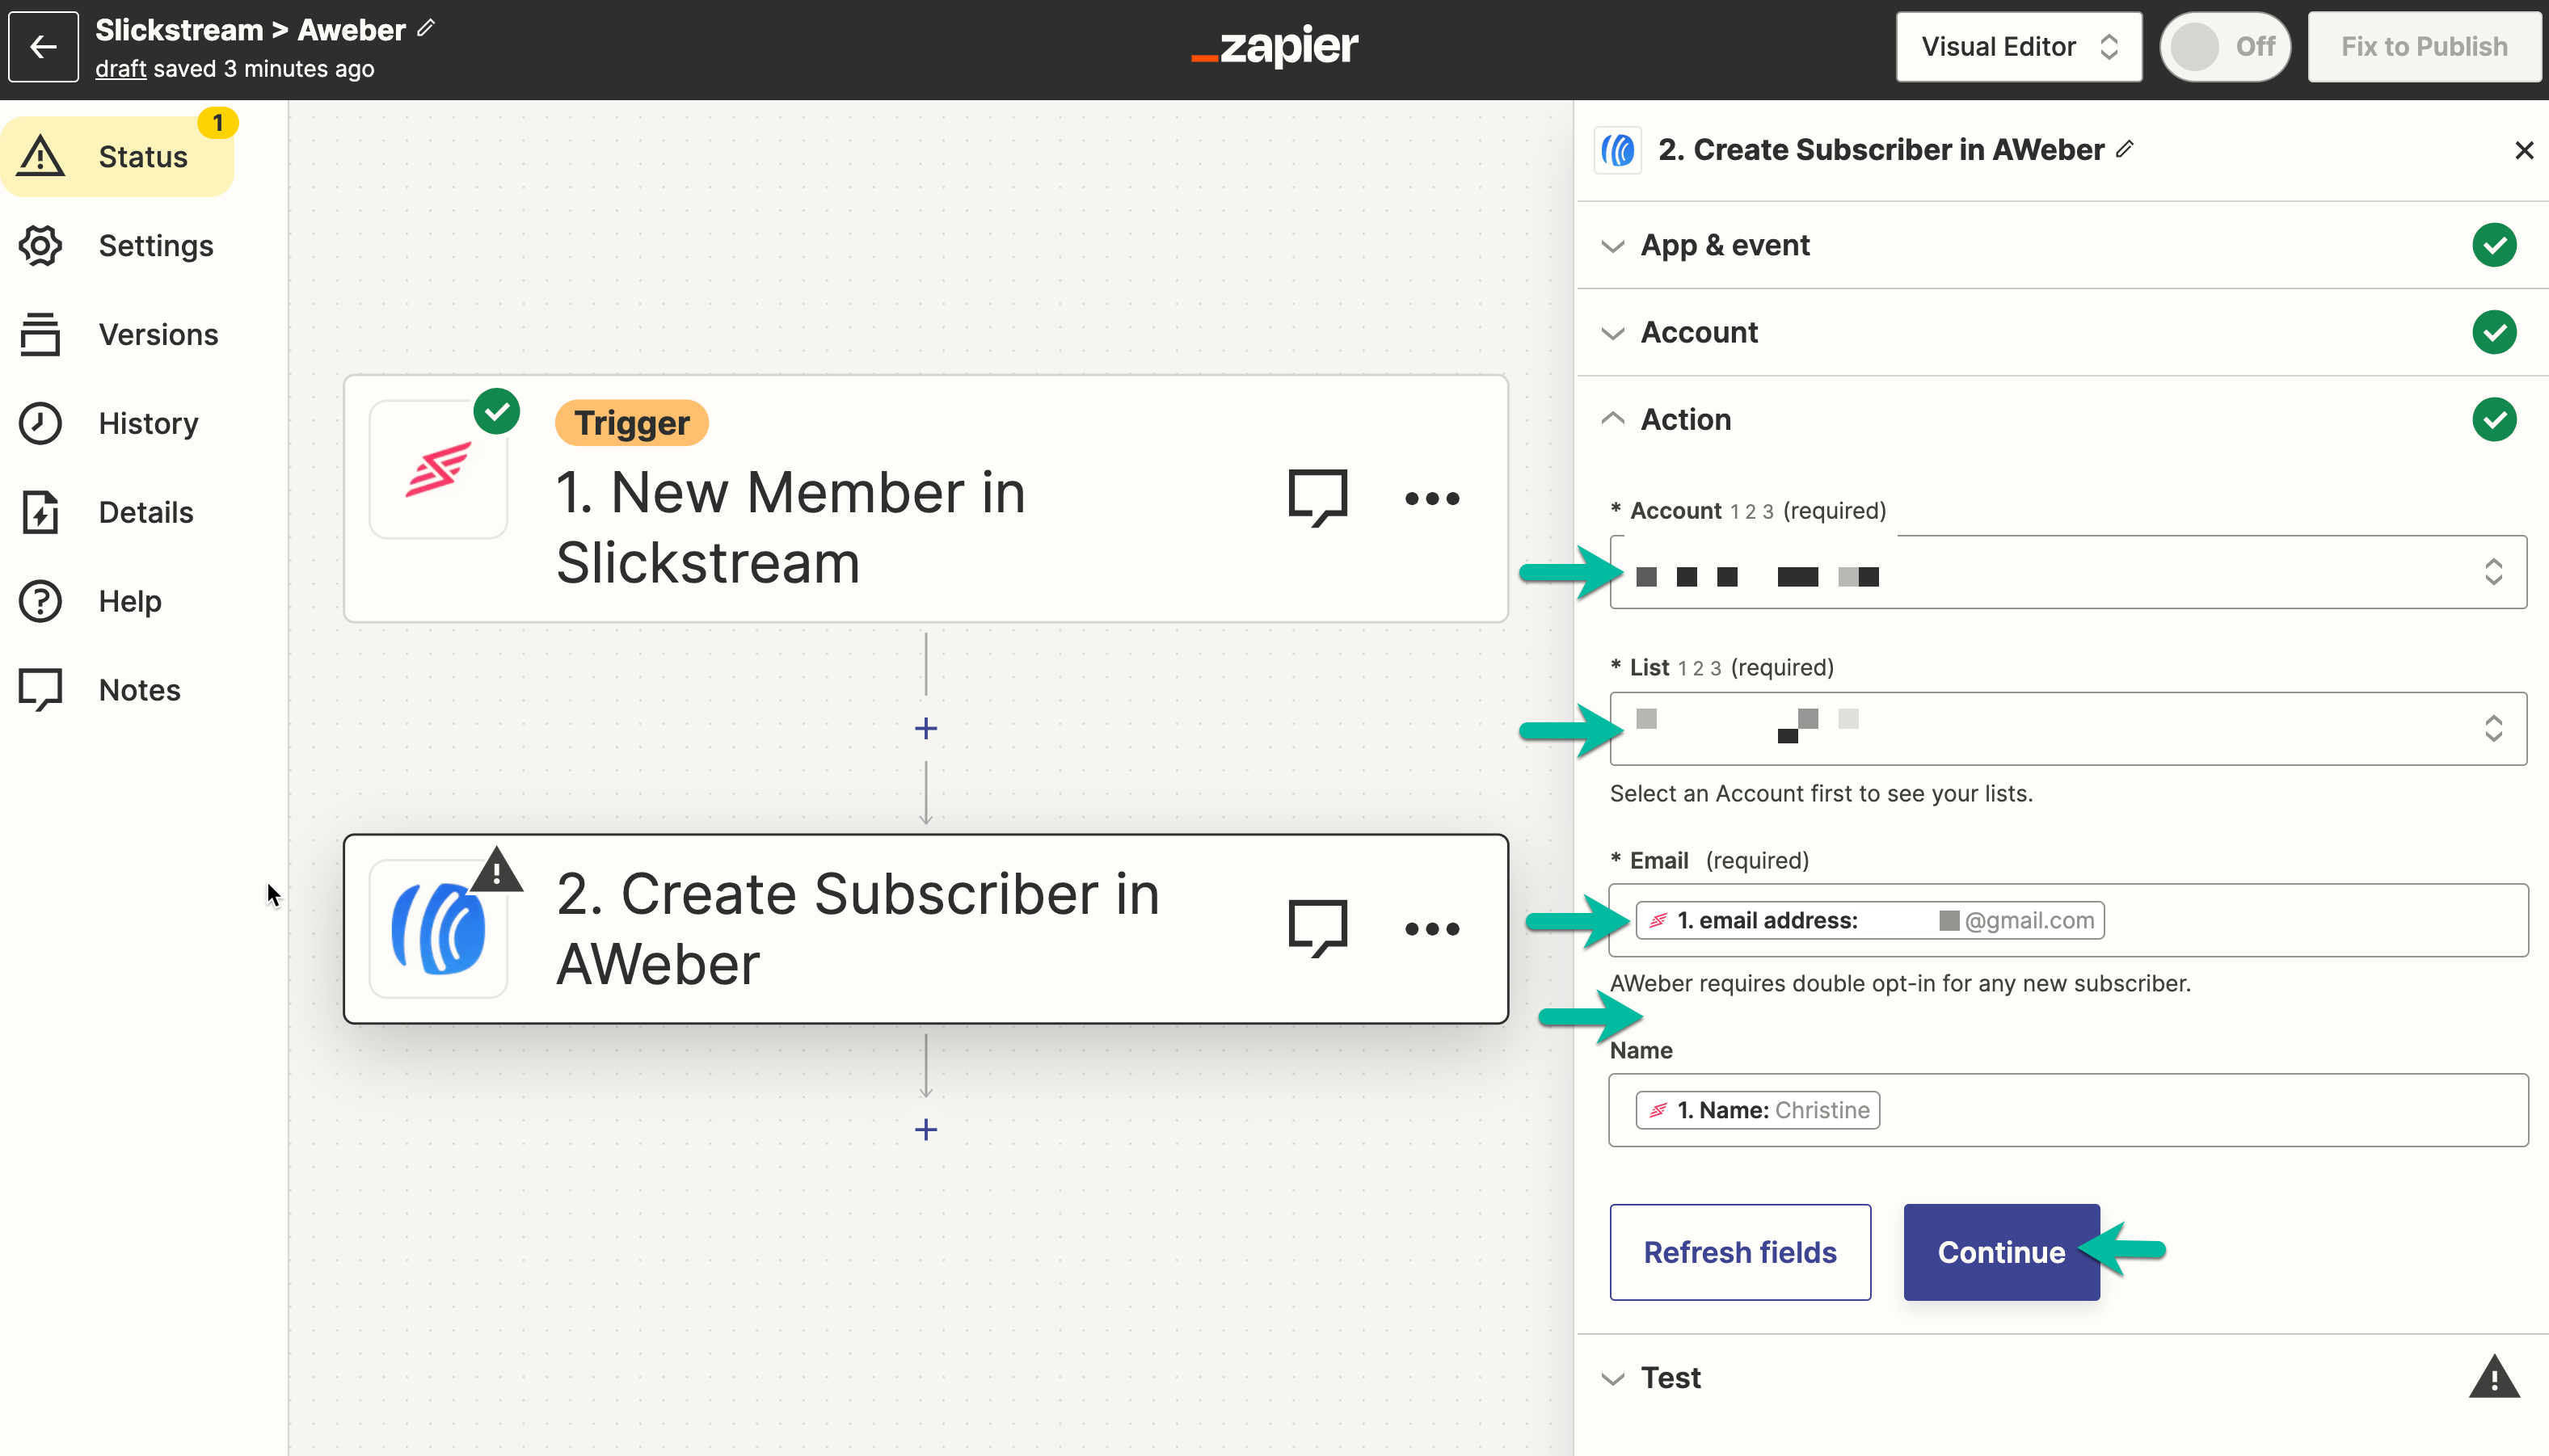
You can then choose to test the integration within the "zap" builder, or publish your "zap" immediately.

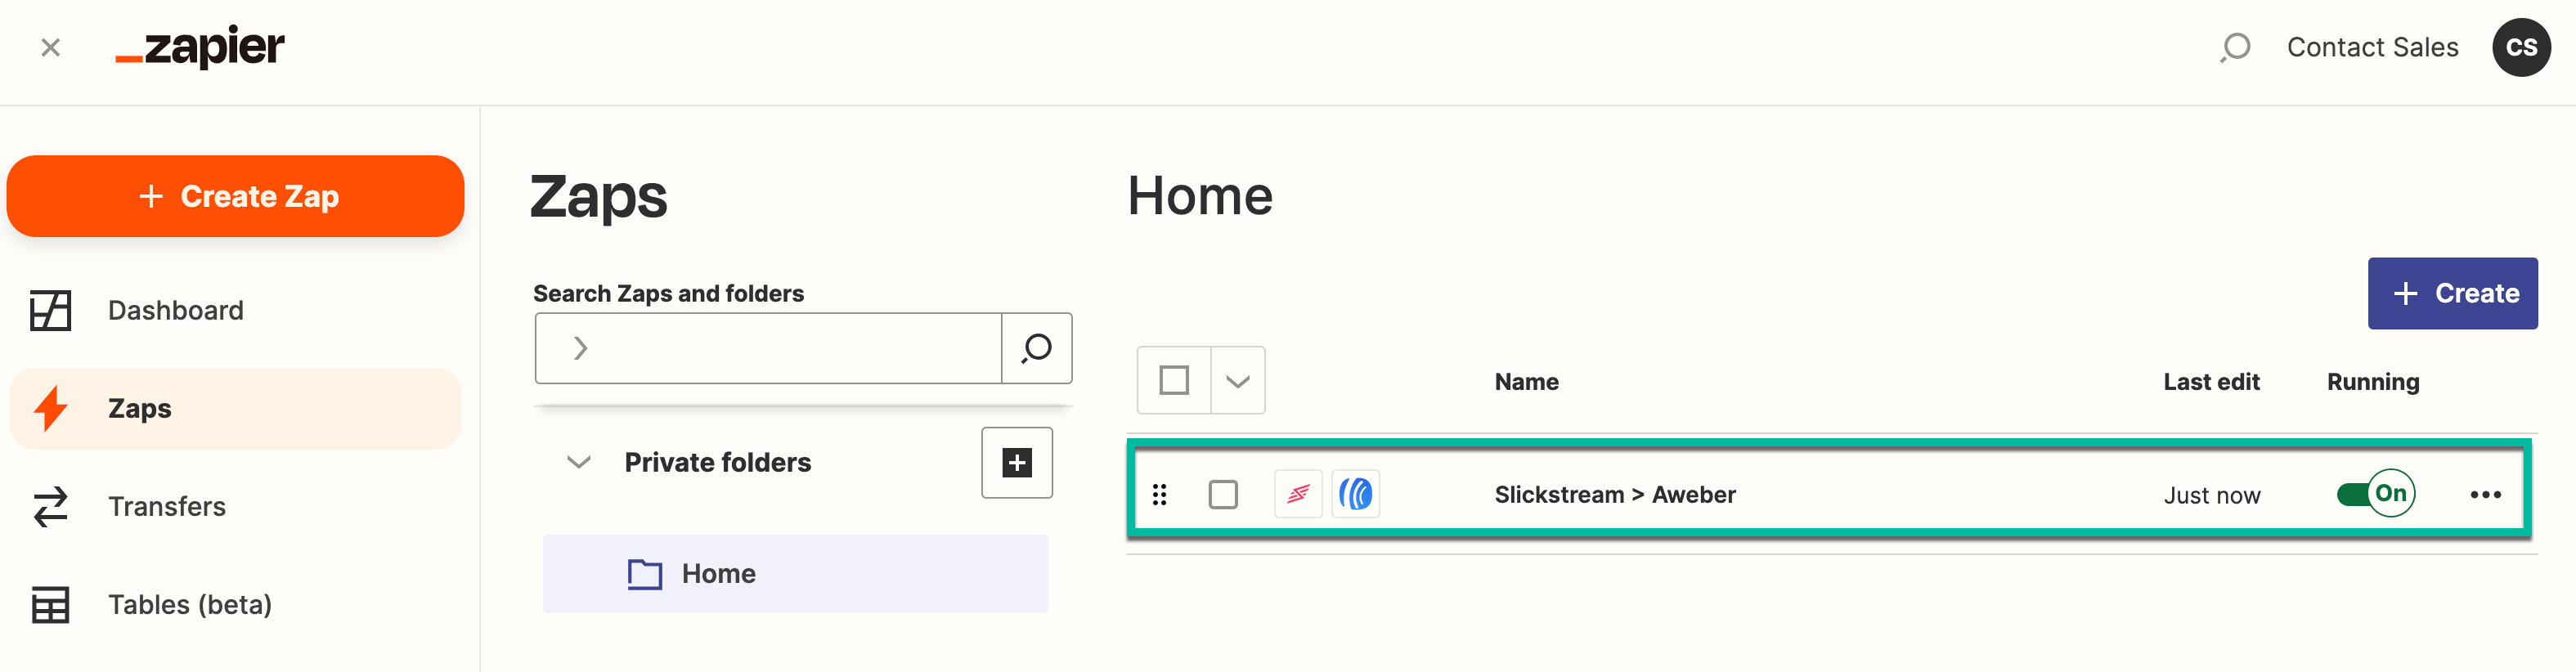
Once you've determined your "zap" is working as expected and you've published it, your "zap" will now appear in your Zapier dashboard.
After you've tested and published your "zap" it's live and will begin pushing your Slickstream member data into your external application. You may enable or disable your integration between Slickstream and your 3rd party application as needed directly within Zapier.
